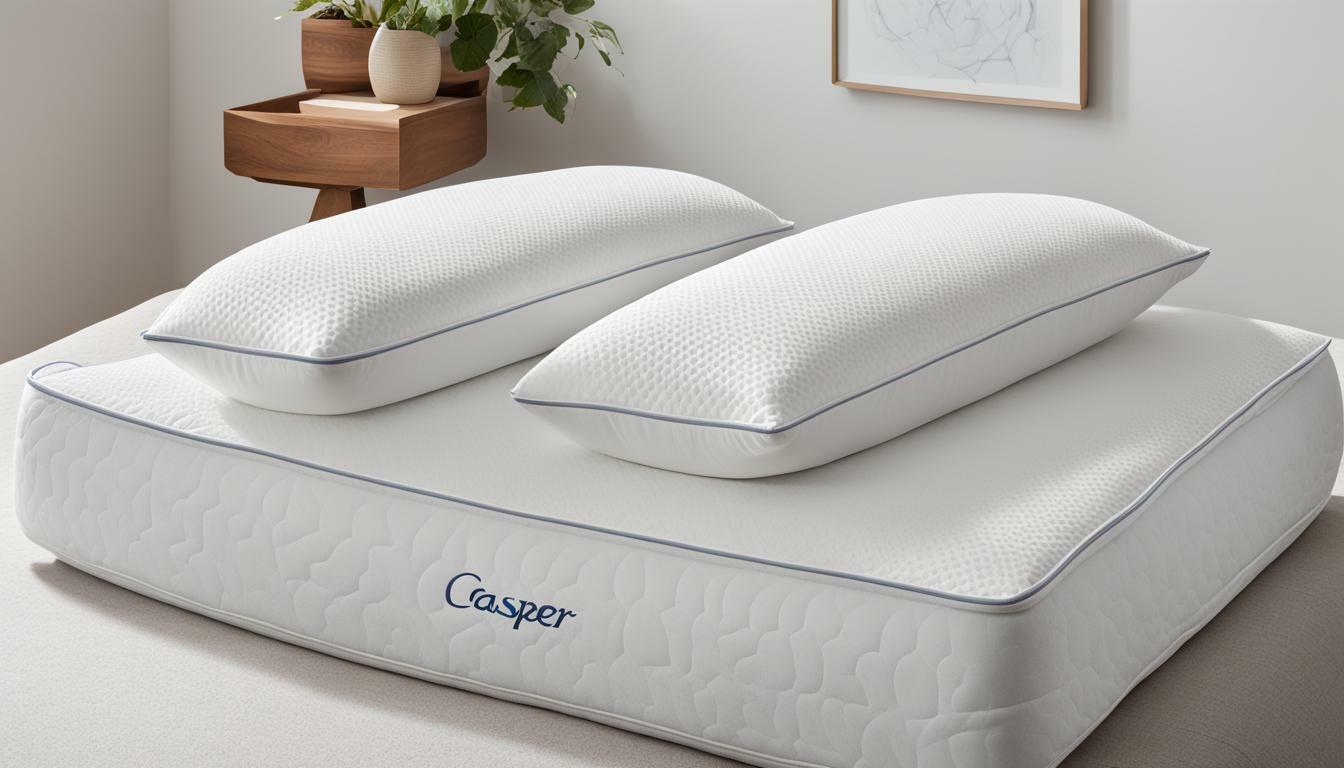
Making your own pillowcases is a great way to add a personal touch to your bedding, and it’s a relatively easy project to take on. Before you start, it’s important to have the correct measurements for your pillowcase, and to choose the right fabric, tools, and sewing techniques. In this article, we’ll take you through everything you need to know to make a professional-looking pillowcase.
Choosing the right fabric for your pillowcase
Before you start making your pillowcase, it’s important to choose the right fabric. Look for a high-quality cotton or cotton blend that’s easy to work with and feels comfortable against your skin. You can choose your fabric based on your personal style and the décor in your bedroom. Some popular options include plain cotton, printed cotton, and satin.
It’s also important to consider the thread count of the fabric. A higher thread count means a softer and more durable fabric. A thread count of 200 or higher is recommended for pillowcases. Additionally, if you have sensitive skin or allergies, consider choosing a hypoallergenic fabric or one that has been treated to be antimicrobial.
Tools you will need to make a pillowcase
Once you’ve chosen your fabric, you’ll need to gather your tools. You’ll need a measuring tape, fabric scissors, pins, a sewing machine, and coordinating thread.
It’s also helpful to have an iron and ironing board nearby to press your fabric as you work. This will ensure that your seams are crisp and your finished pillowcase looks polished. Additionally, if you’re new to sewing, it may be helpful to have a seam ripper on hand in case you make any mistakes and need to undo your stitches.
How to measure your pillow for the perfect fit
Next, you’ll need to measure your pillow to ensure the perfect fit. Place your pillow on a flat surface and measure the length and width from seam to seam. Keep in mind that you’ll want your pillowcase to be a little bit larger than your pillow, to allow for a snug fit.
It’s also important to consider the thickness of your pillow when measuring for a pillowcase. If your pillow is particularly thick, you may need to choose a pillowcase with a deeper pocket to ensure a proper fit. On the other hand, if your pillow is on the flatter side, a standard pillowcase should work just fine.
Cutting your fabric to the correct size
Once you have your measurements, you can cut your fabric to the correct size. To do this, add 1 to 2 inches to the length and width measurements to allow for a seam allowance. Then, cut your fabric to the correct size, using your fabric scissors. Be sure to cut your fabric in a straight line for a professional-looking finish.
It’s important to note that different fabrics may require different cutting techniques. For example, if you’re working with a knit fabric, you may want to use a rotary cutter instead of fabric scissors to prevent the fabric from stretching or distorting. Additionally, if you’re working with a patterned fabric, you’ll want to take extra care to ensure that the pattern is aligned correctly before cutting. Take your time and be precise to ensure that your finished project looks its best.
Sewing techniques for a professional-looking pillowcase
Once you have your fabric cut to the correct size, it’s time to sew your pillowcase. First, fold the fabric in half lengthwise, with the right sides facing each other. Then, sew the two short edges and one of the long edges with a ½ inch seam allowance, using a straight stitch. Finally, turn your pillowcase right side out and press it with an iron.
For an added touch of professionalism, consider adding a French seam to your pillowcase. To do this, sew the wrong sides of the fabric together with a ¼ inch seam allowance, then trim the seam allowance down to 1/8 inch. Next, fold the fabric so that the right sides are facing each other and sew again with a 3/8 inch seam allowance. This will encase the raw edge of the fabric and create a neat, finished seam. Finally, turn your pillowcase right side out and press it with an iron.
Finishing touches: hemming and pressing your pillowcase
For a professional-looking finish, hem the remaining edge of your pillowcase. To do this, fold the raw edge of the fabric under twice, about ¼ inch each time, and pin it in place. Then, sew along the pinned edge, using a straight stitch. Finally, press your pillowcase with an iron to give it a crisp, clean finish.
It’s important to note that different fabrics may require different pressing techniques. For example, if you’re using a delicate or synthetic fabric, use a lower heat setting on your iron and place a pressing cloth between the fabric and the iron to prevent damage. Additionally, if you want to add a personal touch to your pillowcase, consider adding decorative trim or embroidery to the hemline.
Tips for adding decorative touches to your pillowcase
If you want to add a personal touch to your pillowcase, there are plenty of decorative options to choose from. Consider adding trim around the edges, embroidery, or even iron-on letters to spell out your name or a favorite quote.
You can also try using fabric paint to create unique designs on your pillowcase. Use stencils or freehand your own designs for a one-of-a-kind look. Another option is to use fabric markers to draw or write directly on the pillowcase. Just be sure to follow the instructions on the paint or markers to ensure they set properly and don’t wash out.
How to care for and clean your handmade pillowcase
To keep your handmade pillowcase looking great, it’s important to follow the care instructions. Make sure to wash it in cold water and tumble dry on low heat. Avoid using harsh detergents or bleach, which can damage the fabric.
In addition to regular washing, it’s also a good idea to spot clean any stains as soon as possible. Use a mild detergent and a soft cloth to gently dab at the stain, being careful not to rub too hard and damage the fabric. If the stain persists, consider taking the pillowcase to a professional cleaner who specializes in delicate fabrics.
Ideas for customizing and personalizing your pillowcases
Now that you know the measurements and techniques for making a pillowcase, you can let your creativity shine. Mix and match fabrics, add decorative touches, and create a set of pillowcases that reflect your personal style and taste.
In conclusion, with the right measurements, fabric, and sewing techniques, making a pillowcase is an easy and rewarding project. Follow these steps and you’ll be on your way to creating a beautiful set of pillowcases that look and feel great.
Here are some additional ideas for customizing and personalizing your pillowcases:
- Embroider your initials or a design onto the fabric
- Add lace or ribbon trim to the edges
- Create a patchwork design using different fabrics
- Add a decorative button or bow to the opening
- Create a themed set of pillowcases for holidays or special occasions
With these ideas and your own creativity, you can make a set of pillowcases that are truly unique and special.


