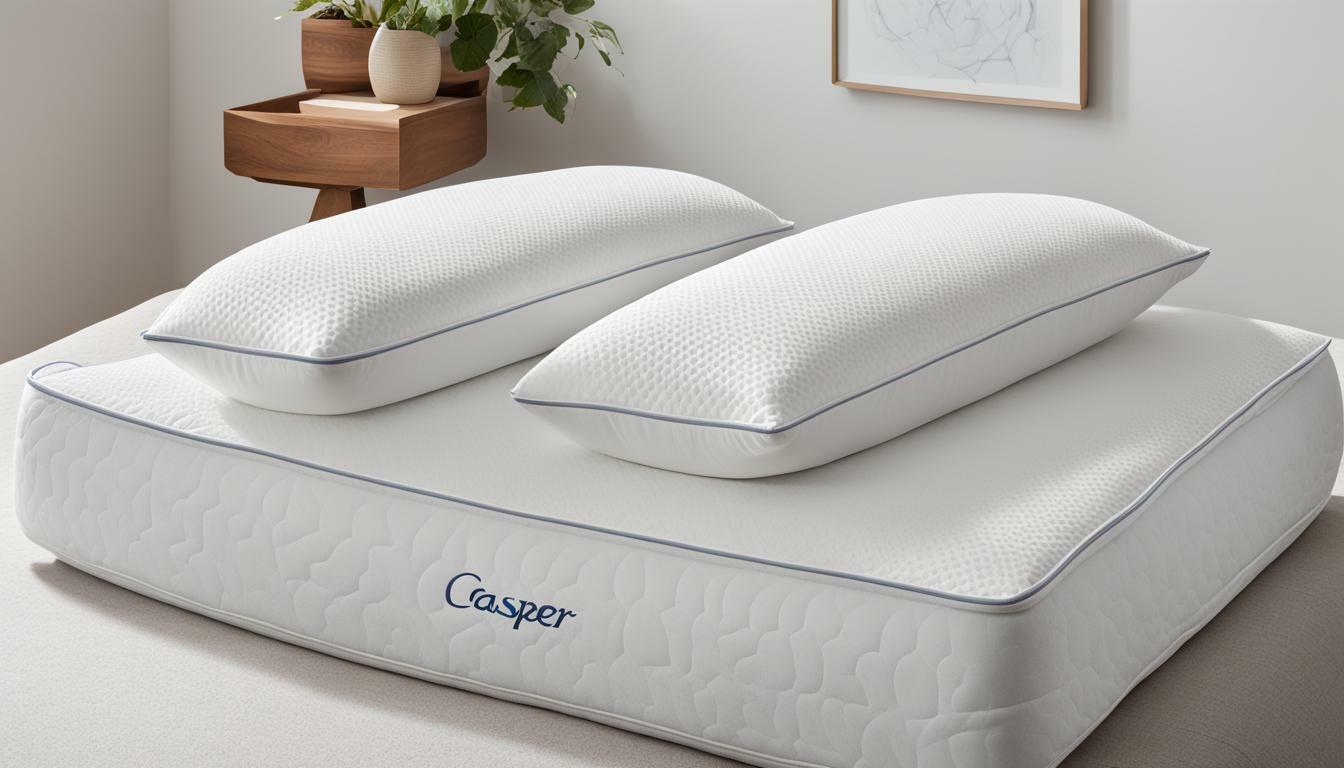
Are you looking for a fun and easy sewing project that you can complete in just a few hours? Sewing pillowcases is a great project for beginners who are just learning how to sew. Not only is it a simple sewing project, but it also allows you to personalize your living space by creating a set of custom pillowcases. In this article, we will cover everything you need to know to create beautiful pillowcases that will add comfort and style to your home.
Materials Needed for Sewing Pillowcases
The first step in creating a set of beautiful pillowcases is to gather all the necessary materials. To make a basic pillowcase, you will need fabric, thread, pins, a pair of scissors, and a sewing machine. You can choose any type of fabric you like, but we recommend using cotton or a cotton blend. Cotton is a soft, breathable, and durable fabric that is perfect for pillowcases.
Additionally, you may want to consider purchasing coordinating ribbon or trim to add a decorative touch to your pillowcases. This can be sewn onto the edge of the pillowcase or used to create a border around the opening. Another optional material is fusible interfacing, which can be used to add extra stability to the fabric and prevent fraying. However, this is not necessary for all fabrics and can add extra steps to the sewing process.
Preparing the Fabric for Sewing
Before you start sewing, you need to prepare your fabric. Wash and dry your fabric to prevent any shrinkage. After washing, iron the fabric to remove any wrinkles or creases. Make sure that the fabric is completely flat and smooth before cutting.
It is also important to consider the grain of the fabric when preparing it for sewing. The grain refers to the direction of the threads in the fabric. To determine the grain, fold the fabric in half lengthwise and then crosswise. The lengthwise fold should be parallel to the selvage edge of the fabric. Once you have determined the grain, make sure to cut your fabric pieces in the same direction to ensure that they hang and drape properly.
Measuring and Cutting the Fabric
The next step is to measure and cut the fabric. Measure the length and width of your pillow, and add an inch to each measurement for seam allowances. Cut two pieces of fabric to the same size to create the pillowcase. Make sure that both pieces of fabric are cut straight and parallel to each other.
It’s important to choose the right type of fabric for your pillowcase. If you’re making a decorative pillow, you may want to choose a fabric with a pattern or texture that complements your decor. If you’re making a pillow for everyday use, consider using a durable, easy-to-clean fabric like cotton or linen. You can also add a layer of batting or interfacing between the two pieces of fabric to give your pillow more structure and support.
Selecting the Right Thread and Needle
The type of thread and needle you use can have a significant impact on the quality of your pillowcase. Select a high-quality thread that matches the color of your fabric. Use a universal needle with a size of 80 or 90, depending on the thickness of your fabric.
It’s also important to consider the fiber content of your thread. For cotton fabrics, use cotton thread. For synthetic fabrics, use polyester thread. If you’re working with a blend of fabrics, choose a thread that matches the fiber content of the majority of the fabric. This will ensure that your stitches hold up well over time and don’t cause any damage to the fabric.
Sewing Techniques for Beginners
If you are new to sewing, it is important to use the correct techniques. Begin by sewing the two pieces of fabric together along the longest edge, right sides facing each other. Sew with a seam allowance of 1/4 inch. Once you have finished sewing, press the seam open to make it lie flat. Next, sew the two shorter edges together, using the same seam allowance. Finally, turn the pillowcase right side out and press it again.
Adding a Hem to the Pillowcase Edges
To create a neat finish on the pillowcase edges, you can add a hem. Fold the edge of the fabric under by 1/4 inch and press it with an iron. Fold it under again by 1/4 inch and press it again. Pin the hem in place and sew along the folded edge, making sure to catch both layers of fabric.
Creating a French Seam for a Professional Finish
If you want to take your pillowcase to the next level, you can create a French seam. This technique gives the pillowcase a professional, finished look. Begin by sewing the two pieces of fabric together with wrong sides facing each other. Sew with a seam allowance of 1/4 inch. Trim the seam allowance to 1/8 inch, and then fold the fabric over so that the right sides are facing each other. Sew again with a seam allowance of 3/8 inch, enclosing the raw edge of the fabric inside the seam. Turn the pillowcase right side out, and press it with an iron.
Tips for Choosing the Right Pillow Inserts
When selecting a pillow insert for your pillowcase, choose one that is slightly larger than the size of the pillowcase. This will ensure that the pillow looks full and fluffy. Also, consider the type of fill you want. A down-filled pillow will provide a soft and luxurious feel, while a synthetic fill will be more affordable and hypoallergenic.
Customizing Your Pillowcases with Embellishments or Appliques
If you want to add a personal touch to your pillowcases, consider adding embellishments or appliques. You can use fabric scraps or ribbon to create a decorative border, or you can use stencils or applique templates to create a unique design. Be creative and have fun with the process.
Now that you know all the basics of sewing pillowcases, it’s time to get started. Remember to take your time and use the right techniques, and you will end up with beautiful, custom pillowcases that will enhance the look of your home. Happy sewing!