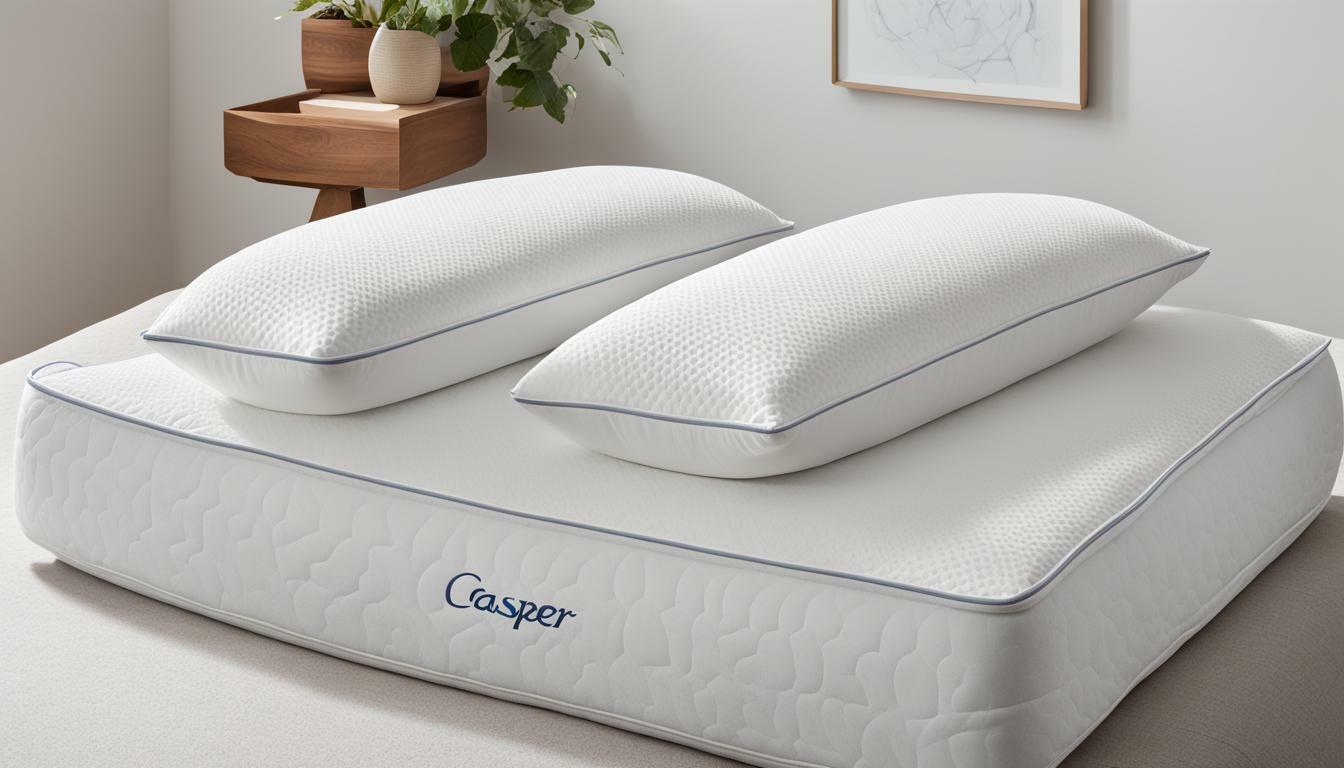
If you’re looking for a fun and simple sewing project, pillowcases are a great option! Not only are they easy to make, but they can also add a pop of color or pattern to your bedroom decor. In this article, we’ll cover everything you need to know about sewing pillowcases from start to finish. Let’s get started!
Materials Needed to Sew Pillowcases
Before you begin, gather all the necessary materials for your project. You’ll need:
- 2.5 yards of fabric (for a standard size pillowcase)
- Thread
- Scissors
- Straight pins
- Sewing machine
Once you have all of your supplies, you’re ready to choose the perfect fabric and get started on your pillowcases!
It’s important to note that the type of fabric you choose will affect the overall look and feel of your pillowcases. Consider using a soft, breathable cotton for a cozy feel, or a silky satin for a luxurious touch. You can also get creative with patterns and colors to match your bedroom decor. Just make sure to prewash your fabric before sewing to prevent any shrinkage or color bleeding.
Choosing the Right Fabric for your Pillowcases
The fabric you choose for your pillowcases can make a big difference in the final product. Consider the following:
- Thread count – look for a fabric with a higher thread count as it will be softer and more comfortable to sleep on
- Cotton or linen – these materials are breathable and perfect for pillowcases
- Pattern or solid color – depending on your personal preference and bedroom decor, choose a fabric that will complement the space
Once you have chosen your fabric, it’s time to measure and cut it to size!
Another important factor to consider when choosing the right fabric for your pillowcases is the durability of the material. If you plan on using your pillowcases frequently, it’s important to choose a fabric that can withstand regular washing and wear and tear. Some fabrics, such as silk or satin, may be luxurious and soft, but they may not be as durable as cotton or linen. Keep this in mind when making your fabric selection.
Measuring and Cutting Fabric for your Pillowcases
Standard pillowcases measure 20×26 inches, so you’ll want to cut your fabric accordingly. Here’s how:
- Cut two pieces of fabric that measure 26×42 inches each.
- Place the two pieces on top of each other with right sides facing each other.
- Pin the edges together and sew a 1/2 inch seam allowance across the short edge of the fabric.
Once you have sewn the short edges together, it’s time to hem the remaining edges!
To hem the remaining edges, fold the fabric over 1/4 inch and press with an iron. Then fold it over another 1/4 inch and press again. Pin the hem in place and sew along the edge, removing the pins as you go. Repeat this process for all remaining edges. Once you have finished hemming, turn the pillowcase right side out and give it a final press with the iron. Your pillowcase is now ready to use or give as a gift!
Preparing and Hemming the Edges of your Fabric
Start by folding over the top edge of the fabric about 1/4 inch and then another 1/4 inch to create a finished hem. Pin in place and sew a straight stitch across the hem, making sure to backstitch at the beginning and end.
Repeat this process on the bottom edge of the fabric. Then fold the fabric in half with right sides facing each other and pin the open edges together.
Before hemming the edges of your fabric, it’s important to prewash and dry it to prevent any shrinkage or distortion after sewing. Additionally, if you’re working with a fabric that frays easily, you may want to consider using a serger or zigzag stitch along the raw edges to prevent them from unraveling over time.
Adding a Decorative Border to Your Pillowcases
If you want to add a decorative border to your pillowcases, now is the time to do it. Cut a strip of fabric that is 2.5 inches wide and the length of your pillowcase opening. Then fold the strip in half lengthwise with right sides facing each other and sew a 1/2 inch seam allowance along the edge.
Once you have sewn the seam, turn the strip right side out and press it flat. Pin the strip to the raw edge of your pillowcase opening and sew in place.
Sewing the Side Seams of Your Pillowcases Together
Starting from the top of the pillowcase opening, sew down the side and across the bottom of your pillowcase using a 1/2 inch seam allowance. Make sure to backstitch at the beginning and end of your seams.
When you reach the corner of your pillowcase, lift the presser foot and turn the fabric 90 degrees before continuing to sew. Once you have sewn all the way around the pillowcase, trim any loose threads and turn it right side out.
Finishing Touches: Adding Buttons or Other Embellishments
If you want to add buttons or other embellishments to your pillowcases, now is the time to do it. Simply sew on your desired buttons or trims and you’re finished!
Tips and Tricks for Sewing Perfect Pillowcases Every Time
Here are some helpful tips to keep in mind when sewing your pillowcases:
- Iron your fabric before cutting and sewing to ensure accuracy and a neat finished product.
- Backstitch at the beginning and end of your seams to prevent unraveling.
- Consider using a contrasting thread color for added visual interest.
- Take your time and be patient – practice makes perfect!
Washing and Caring for Your Newly Sewn Pillowcases
Once you’ve finished sewing your pillowcases, it’s important to care for them properly. Wash them in cold water and tumble dry on low heat to prevent shrinkage. If your pillowcases have any decorative details, consider washing them separately or putting them in a mesh laundry bag to protect them.
Now that you know how to sew pillowcases from start to finish, you can add a personal touch to your bedding and create a cozy atmosphere in your bedroom. Happy sewing!


