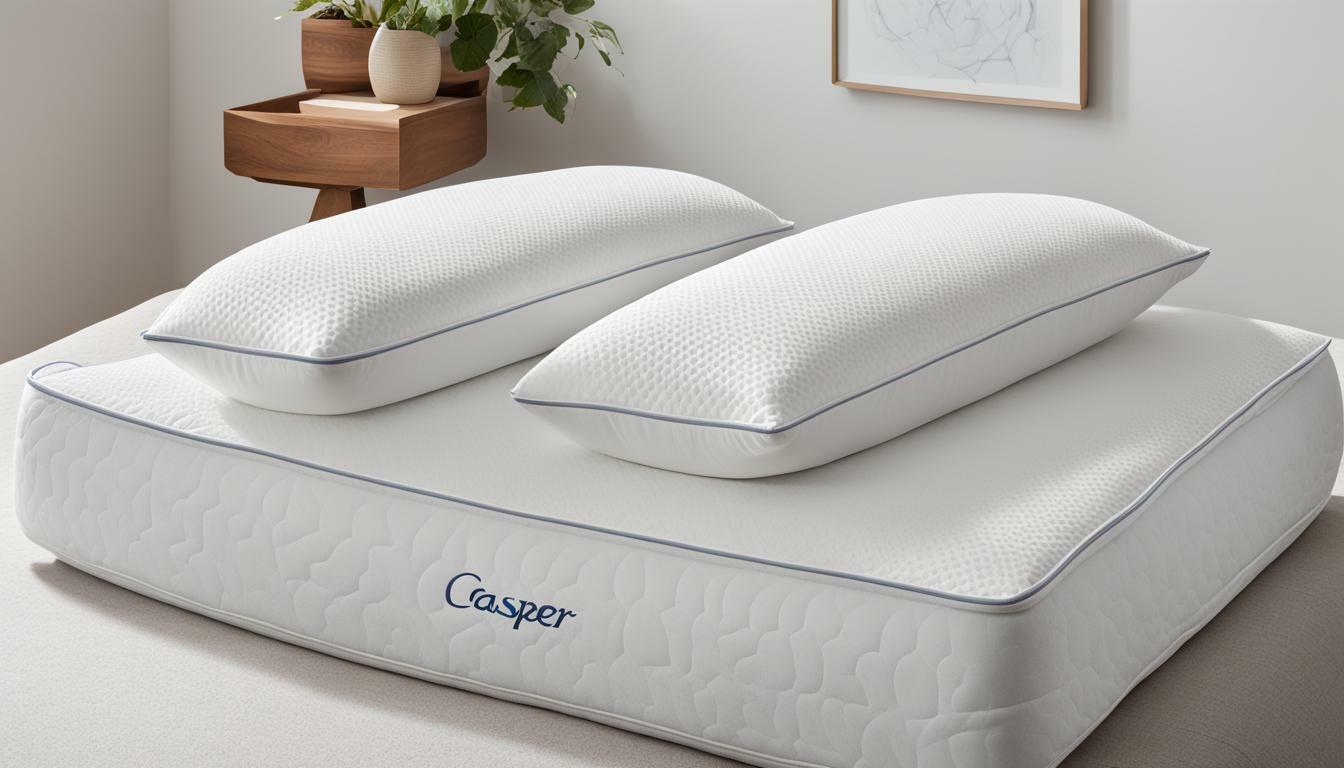
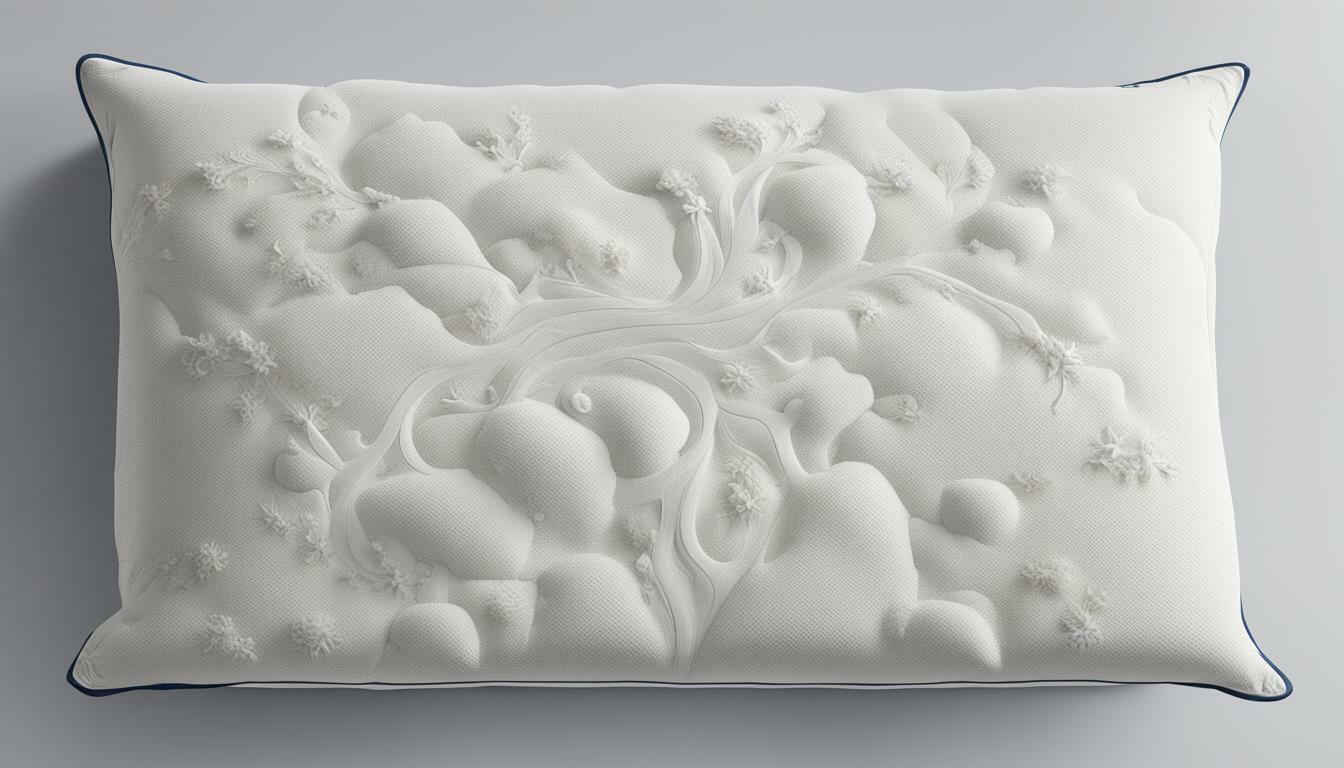
When it comes to sewing your own pillowcases, the possibilities are endless. You can choose from a variety of fabrics, colors, patterns, and trims to create a perfectly unique and custom look for your bedding. And, with just a little bit of knowledge and practice, you can ensure that your pillowcases will look great and last for years to come. In this guide, we’ll take you step by step through the process of sewing pillowcases that are beautiful, functional, and durable.
Selecting the Right Fabric and Supplies for Your Pillowcase
The first step to sewing a high-quality pillowcase is to choose the right fabric and supplies. Start by selecting a high-quality fabric that is soft, breathable, and comfortable to lay your head on. Natural fibers like cotton or linen are great choices, as they are durable and easy to care for. Once you’ve chosen your fabric, make sure you have all the necessary supplies, including a sewing machine, thread, scissors, and pins.
It’s also important to consider the color and pattern of your fabric. If you’re making a pillowcase for a child, you may want to choose a fun and playful print. For a more sophisticated look, consider a solid color or a subtle pattern. Additionally, if you’re making a pillowcase as a gift, think about the recipient’s personal style and choose a fabric that reflects their taste.
Measuring and Cutting Fabric for the Perfect Fit
Before you start sewing your pillowcase, it’s important to measure and cut your fabric to the correct size. Measure your pillow insert and add a few inches of extra fabric on all sides to allow for a snug fit. Once you have your measurements, use a cutting mat and rotary cutter to cut your fabric to size.
It’s also important to consider the pattern or design of your fabric when cutting. If you have a pattern that needs to be matched up, make sure to cut your fabric in a way that aligns the pattern correctly. Additionally, if you’re using a directional fabric, such as one with stripes or a print that only goes in one direction, make sure to cut your fabric accordingly so that the design is facing the right way on your finished pillowcase.
Preparing Your Sewing Machine for Pillowcase Sewing
Before you start sewing your pillowcase, it’s important to properly prepare your sewing machine. Make sure your needle is sharp and your thread is properly threaded. Adjust your stitch length and tension to ensure a strong and even stitch. Finally, prepare your workspace by clearing any clutter and ensuring you have ample lighting and ventilation.
Additionally, it’s a good idea to clean your sewing machine before starting your project. This will help prevent any dust or debris from getting caught in the machine and potentially causing issues with your stitching. You can use a soft brush or cloth to gently clean the exterior and interior of your machine, and follow any specific cleaning instructions provided by the manufacturer.
Sewing the Seams and Finishing the Edges of Your Pillowcase
With your fabric cut and your machine prepared, it’s time to start sewing your pillowcase. Start by sewing the side seams of your fabric together, right sides facing each other. Then, sew the bottom seam, again with right sides facing each other. Finally, finish the edges of your pillowcase with a serger or zigzag stitch to prevent fraying.
Once you have finished sewing and serging the edges of your pillowcase, you can add some personal touches to make it unique. Consider adding decorative trim or embroidery to the edges, or even appliqueing a design onto the front of the pillowcase. These extra details will not only add visual interest, but also make your pillowcase stand out as a one-of-a-kind creation.
Adding Personal Touches to Your Pillowcases with Embellishments and Trims
If you want to take your pillowcase to the next level, consider adding some personal touches with embellishments and trims. You can add lace, ribbons, piping, or even embroidery to create a custom look that reflects your unique style and tastes.
When choosing embellishments and trims, consider the color and texture of your pillowcase fabric. For example, if you have a plain white pillowcase, you can add a pop of color with a bright ribbon or choose a delicate lace trim for a more subtle effect. Additionally, you can mix and match different trims and embellishments to create a layered and textured look. Don’t be afraid to experiment and have fun with it!
Tips for Caring for Your Handmade Pillowcases to Ensure Longevity
Once your pillowcases are complete, it’s important to take care of them properly to ensure they last for years to come. Wash and dry your pillowcases on a gentle cycle with like colors, and avoid using harsh detergents or bleach. If needed, iron your pillowcases on a low temperature to remove wrinkles.
Additionally, it’s recommended to store your handmade pillowcases in a cool, dry place to prevent any moisture or mildew from forming. If you have multiple sets of pillowcases, it’s best to rotate them regularly to prevent any one set from wearing out too quickly. Finally, if you notice any small tears or loose threads, it’s important to repair them promptly to prevent further damage to the fabric.
Troubleshooting Common Issues when Sewing Pillowcases
As with any sewing project, you may encounter some common issues when sewing your pillowcases. Some of these issues may include uneven seams, fabric bunching, or difficulty with finishing edges. To troubleshoot these issues, take your time, use proper techniques, and reach out to online sewing communities or experts for guidance.
Ways to Customize Your Pillowcases for Different Seasons or Occasions
One of the best things about sewing your own pillowcases is the ability to customize them for different seasons or occasions. Consider using different fabrics or patterns for holidays, or adding decorative touches like ribbons or buttons for special occasions.
Inspiration and Ideas for Making Coordinating Bedding Sets with Your Handmade Pillowcases
FInally, once you’ve mastered sewing your own pillowcases, consider taking your skills to the next level by creating coordinating bedding sets. You can use your newly acquired knowledge to sew fitted and flat sheets, duvet covers, and even decorative pillow shams to complete the look of your perfectly personalized and custom bedding.


