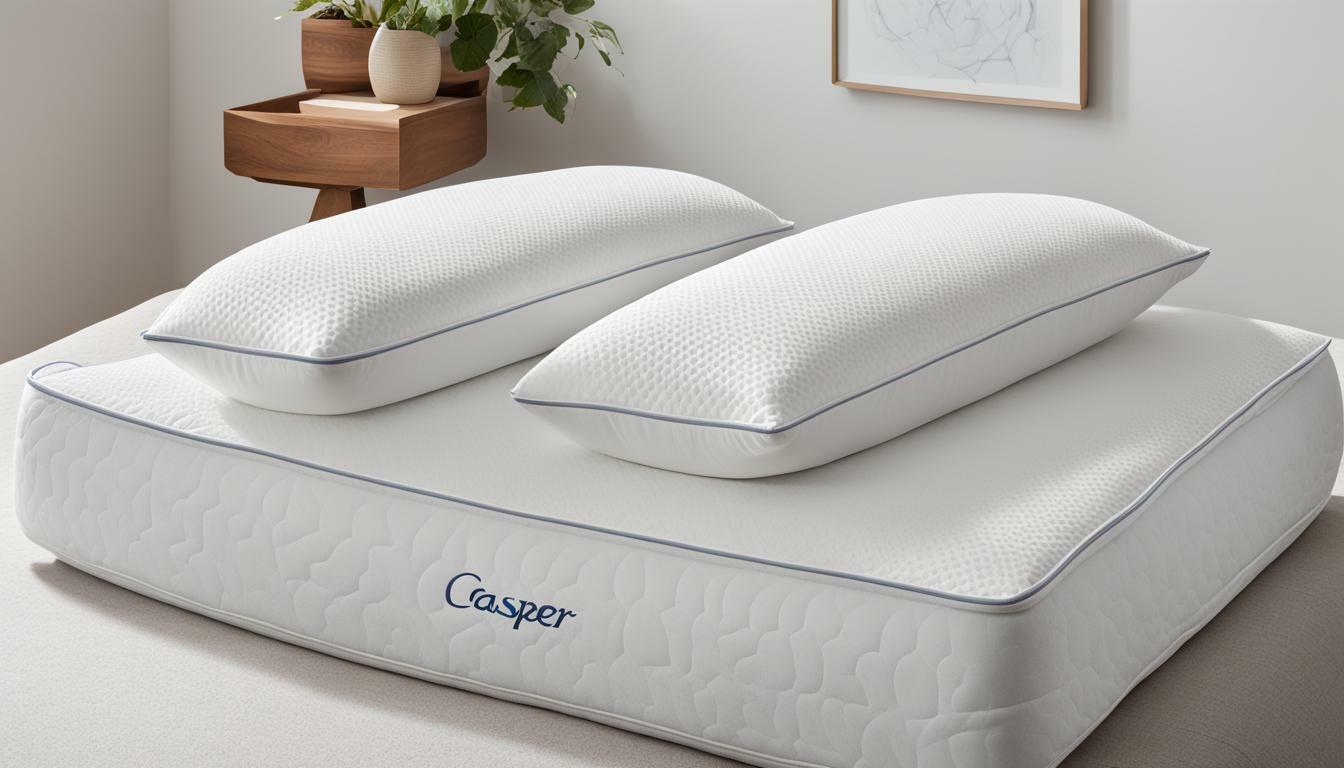
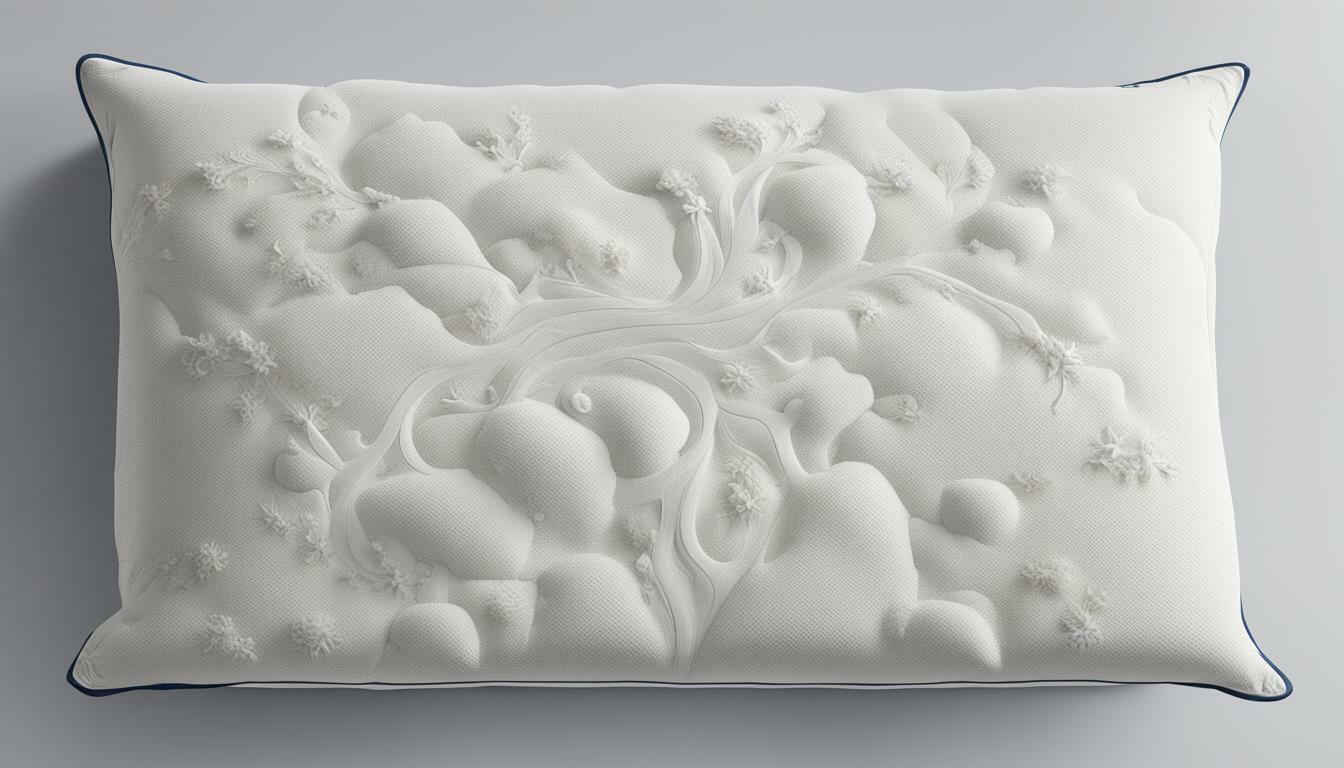
Pillowcases are an excellent gift idea for any occasion. They are easy to make, customizable, and you can never have too many of them. They make the perfect present for housewarming parties, bridal showers, or even Christmas gifts. In this article, we will guide you through the process of making pillowcases and provide you with tips and tricks to make them look professional and presentable.
Gather Your Supplies: What You’ll Need to Make Pillowcases
The first step to making your own pillowcases is to gather all the necessary supplies. You will need a few basic materials, including fabric, thread, scissors, and a sewing machine. Before you begin, make sure you have a large enough working space, and everything is within reach. Having everything in reach will help you focus on the task at hand, making pillowcases that will impress.
Additionally, it’s important to choose the right type of fabric for your pillowcases. Cotton is a popular choice because it’s soft, breathable, and easy to work with. However, you can also use other materials such as silk, flannel, or even a blend of fabrics. Consider the color and pattern of the fabric as well, as it can add a personal touch to your pillowcases. Once you have all your supplies ready, you’re ready to start creating your own unique pillowcases.
Choose Your Fabric: Tips for Selecting the Perfect Material
The type of fabric you choose is crucial to the success of your pillowcase project. Cotton is an excellent choice because it is breathable and easy to care for. Sateen and percale are also popular choices because they are soft, smooth, and appear luxurious. Consider the color and pattern of the fabric as well, as you want to match it to the recipient’s taste or room decor. Take the time to choose a high-quality fabric, as it will make your pillowcases look and feel more expensive.
Another important factor to consider when choosing your fabric is the thread count. The higher the thread count, the softer and more durable the fabric will be. A thread count of 200 or higher is recommended for pillowcases. Additionally, if you or the recipient have sensitive skin, consider choosing a hypoallergenic fabric such as bamboo or silk. These fabrics are gentle on the skin and can help prevent irritation or allergic reactions. By taking these factors into consideration, you can ensure that your pillowcases not only look great but also feel comfortable and luxurious.
Measuring and Cutting Fabric: Step-by-Step Instructions
Measure the pillow you want to cover, and add an extra inch to the height and width of the fabric to account for the seam allowance. Then, cut the fabric to size. Make sure the fabric is straight and even before cutting, as uneven edges can cause problems later on during the sewing process. If you are making multiple pillowcases, cut them all at once for efficiency.
It’s important to choose the right type of fabric for your project. Consider the durability, texture, and color of the fabric. For a pillowcase, you may want to choose a soft and breathable fabric, such as cotton or linen. If you are making a decorative pillow, you may want to choose a more luxurious fabric, such as velvet or silk. Take the time to select the right fabric for your project, as it can greatly impact the final result.
Sewing the Pillowcase: Detailed Guide for Beginners
Pin the two pieces of fabric together with the right sides facing each other, and sew around the edges using a straight stitch, leaving a gap for the pillow to be inserted. Turn the pillowcase inside out, and sew the gap closed. Iron the pillowcase to remove any wrinkles and create crisp edges. If you’re new to sewing, don’t worry. YouTube is a great resource for finding tutorials and other helpful tips.
Adding Personal Touches: Embellishments and Customizations
Add a personal touch to your pillowcase gift with embellishments and customization. Consider adding trim, piping, or even a monogram for a more unique touch. You can also use iron-on transfer paper to add designs or quotes to the pillowcase if you’re feeling creative. Remember, the possibilities are endless, and you can let your creativity shine.
Wrapping and Presenting Your Pillowcase Gift: Creative Ideas to Impress
Now that your pillowcases are complete, it’s time to present them in a creative and thoughtful way. Consider wrapping them in a decorative ribbon or placing them inside a gift bag. You can also add a small card or note to let the recipient know that you made the pillowcases just for them. Remember, the presentation is just as important as the gift itself, so take the time to make it special.
Troubleshooting Common Issues While Making Pillowcases
Despite your best efforts, issues can still arise while making pillowcases. Some common problems include uneven seams or fraying fabric. If you encounter these issues, don’t be afraid to troubleshoot them. Use a seam ripper to remove the uneven stitching, and sew again. If the fabric is fraying, consider using pinking shears or adding a zig-zag stitch to the edges to prevent further fraying.
Making Matching Pillowcases: Tips for Sewing Sets
If you’re making multiple pillowcases, it’s important to ensure that they look uniform. To achieve this, cut all the fabric pieces at once, and sew them consecutively. This will help ensure that all the pillowcases are the same size and shape. You can also use the same fabric and embellishments for each pillowcase if you want them to match.
Alternative Styles and Designs: Ideas for More Unique Gifts
If you want to add even more uniqueness to your pillowcase gift, consider alternative design styles. For example, you could make a pillowcase with a pocket to hold a book or tablet. You could also make a pillowcase with a hidden zipper for added security. The sky’s the limit when it comes to creativity, so don’t be afraid to experiment.
In conclusion, making pillowcases is a fun and creative way to create a thoughtful and personalized gift. With these instructions and tips, you’ll be able to create beautiful pillowcases that the recipient will cherish for years to come. Just remember, take your time, follow the instructions, and let your creativity shine!


