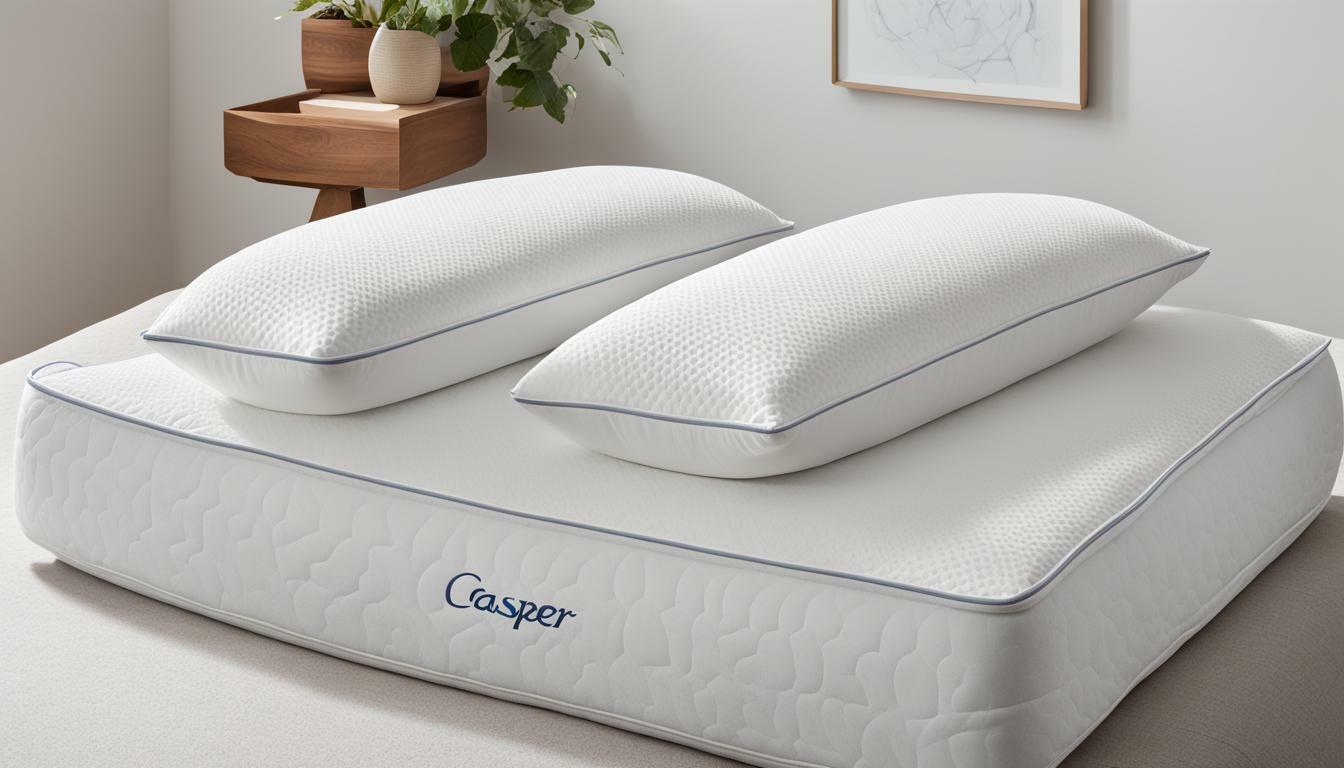
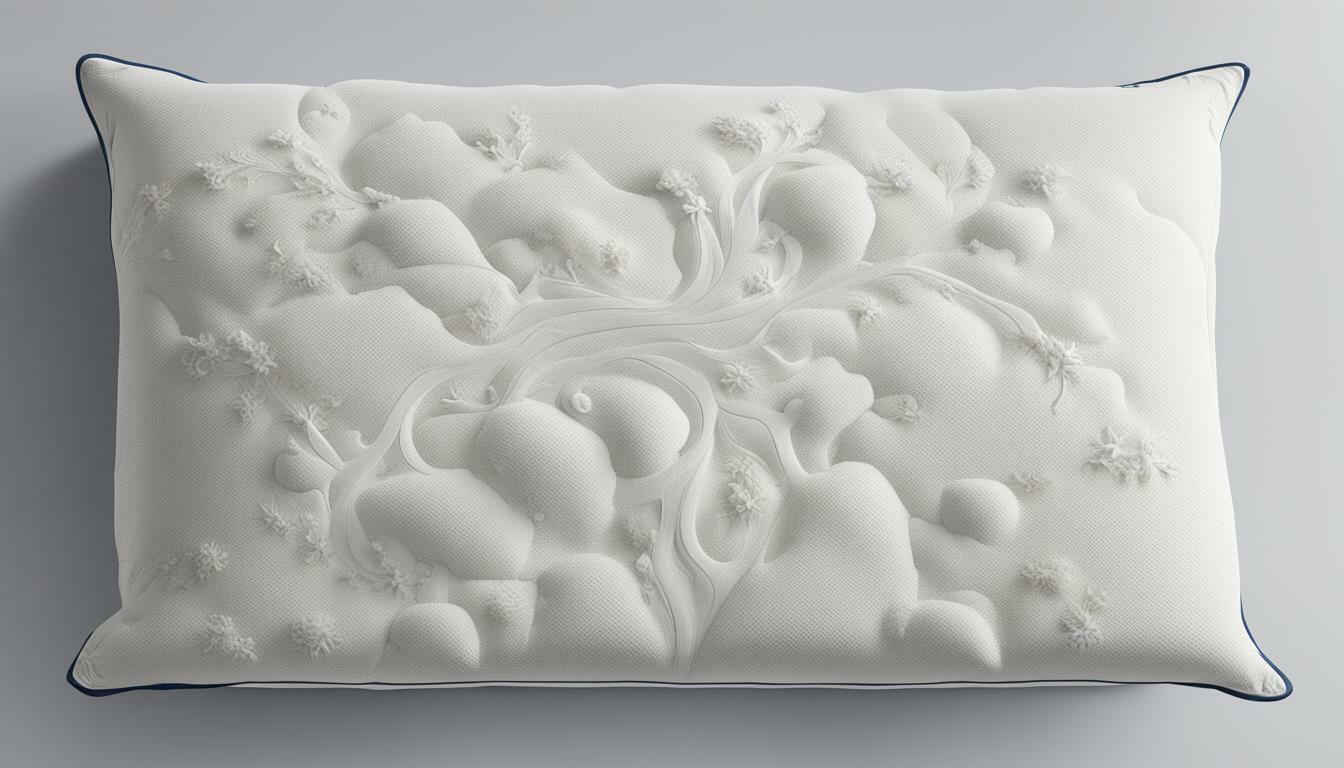
If you’re looking to spruce up your bedroom decor, creating your own crochet pillowcases is an excellent way to do just that. Not only do they add a cozy and stylish touch to any room, but they’re also a fun and creative project to take on. In this article, we’ll go over each step in detail to guide you through the process of crocheting your very own handmade pillowcases.
Choosing the Right Yarn for Your Crochet Pillowcases
Before you start crocheting, it’s crucial to choose the right yarn for your project. Consider the weight, texture, and color of the yarn. Thicker yarn is great for a chunky, cozy look, while lighter yarn is perfect for a more delicate touch. Pick colors that complement your existing bedroom decor, or go bold with pops of color for a unique and eye-catching look.
Another important factor to consider when choosing yarn for your crochet pillowcases is the fiber content. Natural fibers like cotton and wool are great for breathability and durability, while synthetic fibers like acrylic and polyester are often more affordable and easier to care for. Think about your personal preferences and the intended use of the pillowcases when selecting the fiber content of your yarn.
Essential Crochet Tools You’ll Need for This Project
In addition to the right yarn, you’ll need a few essential tools to start your crochet project. These include a crochet hook, measuring tape, scissors, and a yarn needle for finishing touches. Also, consider using crochet markers to keep track of the beginning and end of each row.
Another important tool to consider is a stitch counter. This will help you keep track of the number of stitches in each row and ensure that your project stays on track. Additionally, a blocking mat and pins can be useful for shaping and sizing your finished project. Don’t forget to have a comfortable and well-lit workspace to make your crochet experience more enjoyable!
Understanding Basic Crochet Stitches Before You Begin
If you’re new to crocheting, it’s essential to learn the basic crochet stitches before starting your pillowcase project. These stitches include chain stitch, single crochet, and double crochet stitches. You can easily find tutorials and guides online to help you master these stitches.
It’s also important to choose the right type of yarn and hook size for your project. Thicker yarns and larger hooks are best for beginners as they are easier to work with. Additionally, practicing your tension and gauge will help ensure that your finished project looks neat and professional. Don’t be afraid to experiment with different yarns and hook sizes to find what works best for you.
How to Measure and Cut Fabric for Your Pillowcases
Once you have your yarn and crochet tools ready, it’s time to measure and cut fabric for your pillowcases. You can use any type of fabric you like, but cotton works best for crochet pillowcases. Measure your pillow and cut your fabric according to the size of your pillow, adding an extra inch to both the length and width to allow for seam allowances.
It’s important to note that the type of fabric you choose can affect the overall look and feel of your pillowcase. For a more luxurious feel, consider using silk or satin fabric. If you want a more rustic or natural look, linen or burlap may be a better choice. Additionally, if you plan on washing your pillowcases frequently, it’s best to choose a fabric that can withstand frequent washing and drying without shrinking or fading.
Step-by-Step Guide on How to Crochet a Pillowcase Cover
Start by creating a chain stitch the length of the shortest side of your pillow using your crochet hook. Work single crochet in every chain stitch. Continue until you reach the length of the longest side of your pillow. Turn your work and start with a chain stitch. Work double crochet in the first stitch and then single crochet in the next stitch. Continue alternating until you have reached the length of the shortest side of your pillow. Turn your work and repeat the pattern until you’ve reached the length of the longest side of your pillow. Once you’ve completed both sides of your pillowcase cover, it’s time to sew them together.
Adding Decorative Touches to Your Crochet Pillowcases
Now that you have your crochet pillowcases finished, it’s time to add some decorative touches to make them unique. You can add crocheted flowers or buttons to your pillowcases or try embroidery to add a personal touch. Consider different styles and colors of yarn for the edging or make tassels to hang from each corner. The possibilities are endless.
Tips and Tricks for Finishing and Assembling Your Pillowcases
When it comes to finishing and assembling your pillowcases, there are a few tips and tricks to keep in mind. Be sure to press your fabric before sewing for a clean, polished finish. Use a matching or contrasting color of thread to sew your crochet pillowcases together. If you’re having trouble getting your pillow inside your new pillowcase, try gently rolling it tightly before inserting it.
Creative Ways to Display Your Finished Crochet Pillowcases in Your Home
Once your pillowcases are finished, it’s time to display them in your home. You can add them to your bed pillows, mix and match with other throw pillows on your couch, or even create a cozy reading nook with a pile of crochet pillows. Get creative with where and how you display them to make them a standout feature in your home decor.
Troubleshooting Common Problems While Crocheting Pillowcases
Like any crafting project, crocheting pillowcases can sometimes come with common problems. If you notice your stitches are too tight or too loose, try adjusting the tension of your crochet hook. If you’re having trouble keeping your stitches even, use markers or count your stitches carefully. If you’re unsure of any steps, don’t hesitate to check online tutorials or ask an experienced crocheter for help.
By following these steps and tips, you’ll be on your way to creating your very own unique and beautiful crochet pillowcases. Not only will they add a personal touch to your home decor, but they’ll also give you a sense of pride in a project that you’ve completed yourself.


