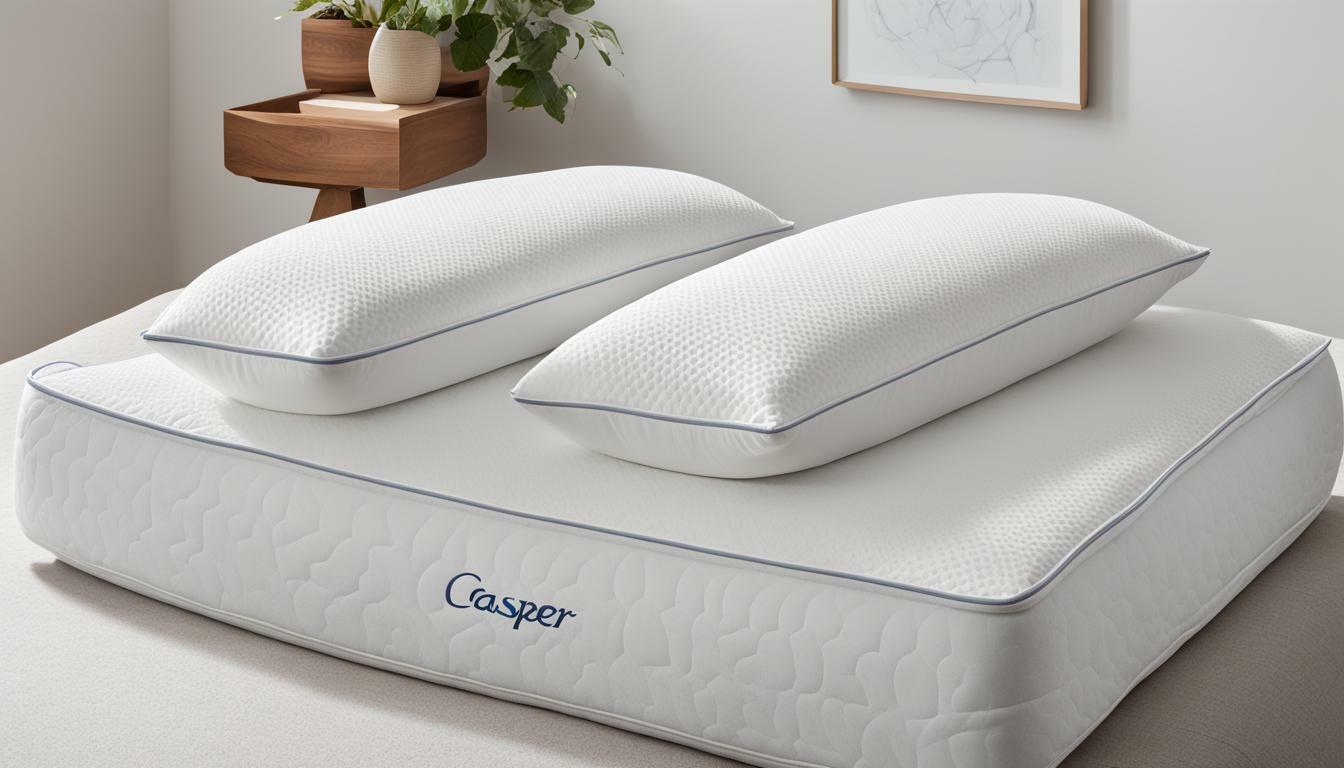
Sewing piping onto a pillowcase can add a unique touch of style and sophistication to your bedding. While it may seem like a daunting task, with the right tools and techniques, anyone can achieve a professional-looking finish. In this article, we will guide you through the steps required to sew piping onto a pillowcase, including choosing the right materials, measuring and cutting, attaching the piping, and troubleshooting common issues.
Choosing the right piping and fabric for your pillowcase
The first step to sewing piping onto a pillowcase is to choose the right materials. Piping comes in a variety of colors, shapes, and materials, including cotton, satin, and silk. For beginners, we recommend using cotton piping as it is easy to work with and provides a sturdy finish. When selecting your fabric, ensure that it is compatible with your piping by choosing a similar weight and texture. Also, consider the color and pattern of your fabric and piping to ensure they complement each other.
Another important factor to consider when choosing piping and fabric for your pillowcase is the intended use of the pillow. If the pillow will be used frequently, such as on a bed or couch, it is best to choose durable materials that can withstand wear and tear. For decorative pillows that will be used less frequently, you can opt for more delicate materials such as silk or satin. Additionally, if you plan to wash your pillowcase frequently, choose materials that are easy to care for and can withstand repeated washing.
Measuring and cutting your piping and fabric to the right size
The next step is to measure and cut your piping and fabric to the right size. Begin by measuring your pillowcase and adding 1 inch to both the length and width to allow for seam allowances. Then, measure the circumference of your piping and add this to your pillowcase measurement. Cut your fabric to the desired size, keeping in mind that the piping will take up some space, and cut your piping to the same length as the perimeter of your fabric.
It’s important to note that the type of fabric you use can affect the final look and feel of your pillowcase. For a crisp and structured look, consider using a cotton or linen fabric. If you prefer a softer and more relaxed feel, opt for a flannel or jersey knit fabric. Additionally, if you’re using a patterned fabric, make sure to align the pattern correctly when cutting your fabric to ensure a seamless look.
Attaching the piping to the pillowcase
The process of attaching the piping to the pillowcase can be a bit tricky, but with a little practice, you will be able to do it with ease. Start by placing your piping right side up along the edge of your fabric, with the raw edges aligned. Using a piping foot on your sewing machine or a zipper foot, sew the piping to the fabric, making sure to keep the stitching close to the piping cord. Stitch all the way around the fabric, trimming the excess cord if necessary.
It’s important to note that the color and thickness of the piping can greatly affect the overall look of the pillowcase. If you want a subtle accent, choose a piping that is a similar color to your fabric. However, if you want the piping to stand out, choose a contrasting color or a thicker piping cord. Additionally, if you are using a patterned fabric, consider using a solid color piping to avoid overwhelming the design.
Sewing the front and back of the pillowcase together with piping in between
The next step is to sew the front and back of the pillowcase together, with the piping sandwiched in between. Place the front and back of your fabric right sides together, with the piping sandwiched in between. Pin in place, and using a regular stitching foot, sew around the perimeter of your fabric, making sure to catch both sides of the piping in your stitching. Turn the pillowcase right side out and gently push out the corners to give your pillowcase a crisp finish.
It’s important to note that when selecting piping for your pillowcase, you should choose a color that complements or contrasts with your fabric. This will help to highlight the design of your pillowcase and make it stand out. Additionally, if you’re using a patterned fabric, consider using a solid-colored piping to create a clean, polished look.
Finishing touches: trimming excess fabric and ironing your finished pillowcase
Now that your pillowcase is complete, take the time to trim any excess fabric or threads to give it a polished finish. Next, gently press your pillowcase with an iron to remove any wrinkles and give it a crisp look.
It’s important to note that different fabrics require different ironing temperatures. Be sure to check the care label on your fabric to determine the appropriate heat setting for ironing. Additionally, if you used a patterned fabric for your pillowcase, take care to align the pattern properly before ironing to ensure a neat and professional finish.
Tips and tricks for sewing piping onto a pillowcase
When sewing piping onto a pillowcase, there are a few tips and tricks that can help make the process easier. Use a piping foot on your sewing machine or a zipper foot to ensure accurate stitching. Pin your piping in place before sewing to keep it from slipping. And when joining the front and back of your fabric, sew slowly and carefully, making sure to catch both sides of the piping in your stitching.
Another helpful tip is to use a contrasting color for your piping to add a pop of color to your pillowcase. You can also experiment with different types of piping, such as corded or flat, to achieve different looks. Don’t be afraid to get creative and try out different techniques to make your pillowcases unique and personalized.
Troubleshooting common issues with sewing piping on a pillowcase
If you encounter any common issues when sewing piping onto a pillowcase, such as uneven piping or bulging corners, there are a few things you can do to fix them. To fix uneven piping, trim the excess fabric on one side or adjust the piping to make it even. To fix bulging corners, clip the fabric in the seam allowance to release any excess fabric and allow the corners to lie flat.
Adding a personal touch: customizing your piped pillowcases with decorative details
Once you have mastered the art of sewing piping onto a pillowcase, the possibilities for customization are endless. Consider adding decorative details such as embroidery, applique, or trim to give your pillowcases a unique touch. You can also experiment with different piping colors and fabric patterns to create a variety of styles that coordinate with your bedding.
Exploring different styles of piped pillowcases for inspiration
If you need inspiration for your next sewing project, there are many different styles of piped pillowcases to explore. From classic designs featuring simple piping and neutral colors to bold and colorful designs with intricate piping and patterns, the options are endless. Take a look at some popular home decor websites or browse through your favorite interior design magazines to see a variety of styles and applications.
By following these steps and taking the time to master the art of sewing piping onto a pillowcase, you can elevate your bedding to the next level and create a unique and stylish look that reflects your personality and sense of style.


