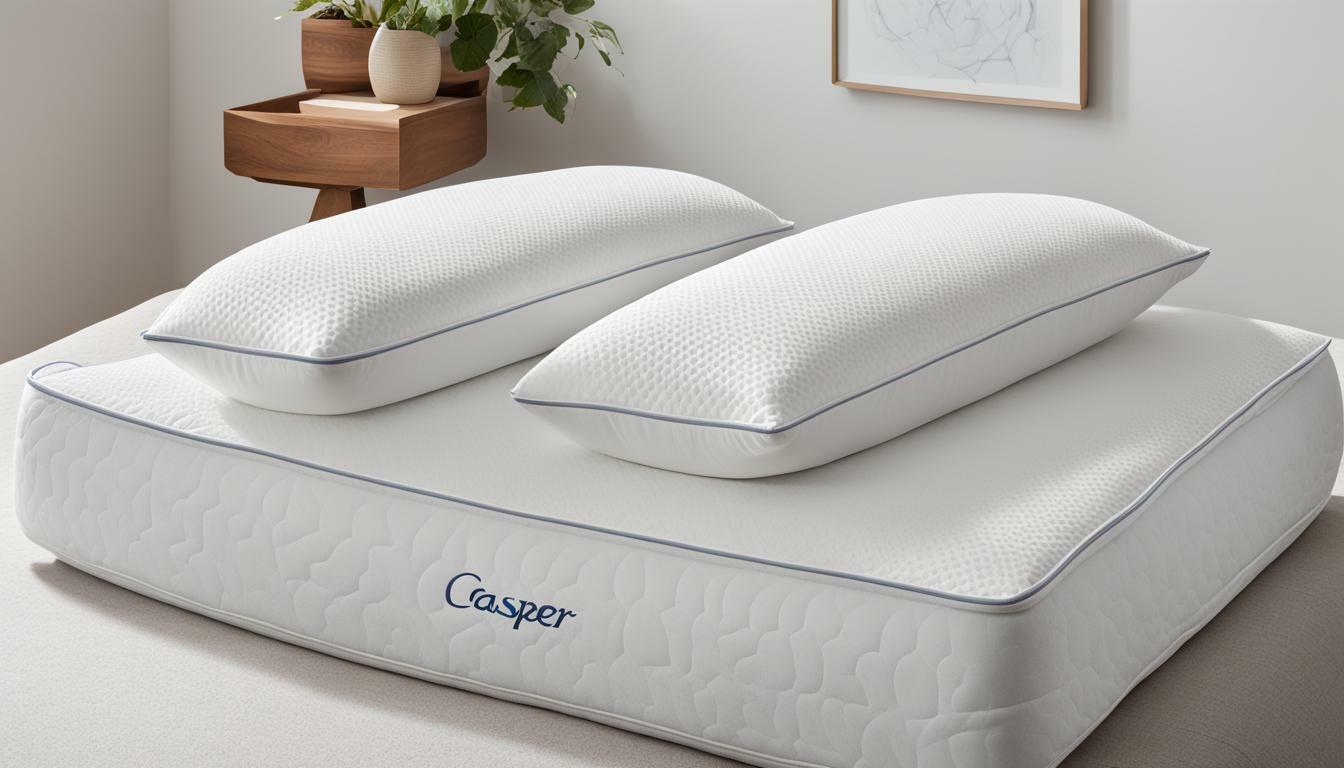
Making a pillowcase is a simple and rewarding project that can be completed in just a few hours. In this article, we will walk you through each step of creating a simple standard pillowcase. Whether you’re a beginner or an experienced seamstress, this article will provide you with all the necessary information and tips to make a perfect pillowcase every time. Let’s get started.
Gather the necessary materials
The first step in making a pillowcase is to gather all the necessary materials. You will need:
- Fabric
- Thread
- Pins
- Scissors
- Measuring tape
- Sewing machine (optional)
It is important to choose the right type of fabric for your pillowcase. Cotton is a popular choice as it is soft, breathable, and easy to work with. However, you can also use other fabrics such as silk or flannel depending on your preference. Make sure to wash and iron your fabric before starting to ensure that it is clean and wrinkle-free.
Determine the size of your pillow
Before you begin cutting your fabric, you need to determine the size of your pillow. Standard pillows are typically 20 inches by 26 inches. If you have a different size pillow, be sure to measure it and adjust your fabric accordingly.
It’s important to note that the size of your pillow will also affect the amount of stuffing you will need. A larger pillow will require more stuffing, while a smaller pillow will require less. Keep this in mind when purchasing your stuffing material.
Choose the fabric for your pillowcase
When choosing your fabric, consider thread count and durability. Cotton and linen are popular choices for pillowcases due to their softness and breathability. Some fabrics, such as silk or satin, may require special care when washing and may not be as durable as cotton or linen.
Another factor to consider when choosing your pillowcase fabric is the season. Flannel or jersey knit fabrics are great for colder months as they provide warmth and coziness. On the other hand, lightweight cotton or bamboo fabrics are ideal for warmer months as they are breathable and help regulate body temperature. Keep in mind that the fabric you choose can greatly affect your sleeping experience, so choose wisely!
Pre-wash and iron your fabric
Before cutting your fabric, be sure to pre-wash it to prevent any shrinking or bleeding of colors. Once washed, iron your fabric to remove any wrinkles or creases.
It is important to note that different types of fabric require different methods of pre-washing and ironing. For example, delicate fabrics such as silk or lace may require hand washing and air drying, while heavier fabrics like denim can be machine washed and dried on a low heat setting. Always check the care instructions on the fabric label before washing and ironing.
Measure and cut your fabric
Using your measuring tape, measure and mark your fabric to the size of your pillow, adding an extra half inch to the length and width for seam allowances. Cut your fabric to size, making sure to cut it as straight as possible.
It’s important to choose the right type of fabric for your pillow cover. If you’re making a decorative pillow, consider using a fabric with a pattern or texture that complements your decor. If you’re making a pillow for everyday use, choose a durable fabric that can withstand frequent washing and wear and tear. Some good options include cotton, linen, and polyester blends.
Pin and sew the edges of your fabric together
Once your fabric is cut to size, place the right sides of the fabric together and pin the edges together, leaving one short side open. Sew the edges together using a straight stitch, using a 1/4 inch seam allowance.
It’s important to make sure that your pins are placed perpendicular to the edge of the fabric, and that they are not placed too close to the edge, as this can cause the fabric to pucker or shift during sewing. Additionally, before sewing, it’s a good idea to double-check that your sewing machine is threaded correctly and that you have the correct needle and thread for your fabric type.
Finish the edges of your pillowcase
To prevent fraying, finish the edges of your pillowcase either by serging or by folding the edges under and sewing them in place. This will give your pillowcase a professional and polished look.
Another option for finishing the edges of your pillowcase is to use bias tape. Bias tape is a strip of fabric that has been cut on the bias, or diagonal, which allows it to stretch and curve around corners. To use bias tape, simply sandwich the raw edge of your pillowcase between the folded bias tape and sew in place. This method not only prevents fraying but also adds a decorative touch to your pillowcase.
Turn your pillowcase right side out
Once your edges are finished, turn your pillowcase right side out. Use a pencil or chopstick to gently push out the corners of your pillowcase to create a neat and crisp edge.
After turning your pillowcase right side out, take a moment to inspect it for any loose threads or uneven seams. Trim any excess threads and use an iron to press the seams flat. This will give your pillowcase a professional and polished look.
Press and iron your finished pillowcase
Finalize your pillowcase by pressing and ironing it to give it a professional finish. Use a hot iron and press all the seams and edges of the pillowcase, making sure the fabric is wrinkle-free.
Additionally, if you want to add a personal touch to your pillowcase, consider adding some decorative stitching or embroidery. This can be a fun and creative way to make your pillowcase unique and special.
Optional: Add embellishments or decorative details
If desired, you can add embellishments or decorative details to your pillowcase, such as lace trim or embroidered designs.
Adding embellishments or decorative details to your pillowcase can give it a unique and personalized touch. You can use fabric paint to create your own designs or use iron-on transfers to add images or text. Another option is to sew on buttons, beads, or sequins to create a more intricate design. Just make sure to choose embellishments that are appropriate for the fabric of your pillowcase and won’t be uncomfortable to sleep on.
Tips for washing and caring for your new pillowcase
To keep your pillowcase soft and fresh, wash it in cold water with a gentle detergent. Avoid using bleach or fabric softeners as they can damage the fabric. Tumble dry on low heat or air dry for best results.
It is recommended to wash your pillowcase every week to prevent the buildup of oils, dirt, and bacteria. If you have sensitive skin or allergies, consider using a hypoallergenic detergent. Additionally, if your pillowcase has any stains, treat them with a stain remover before washing to ensure they are fully removed.
Additional pillowcase designs to try
Once you have mastered the basics of making a standard pillowcase, try experimenting with different fabrics, colors, and designs to create unique and personalized pillowcases.
By following these simple steps, you can make a beautiful and functional pillowcase that is sure to give you a good night’s sleep for years to come. Happy sewing!


