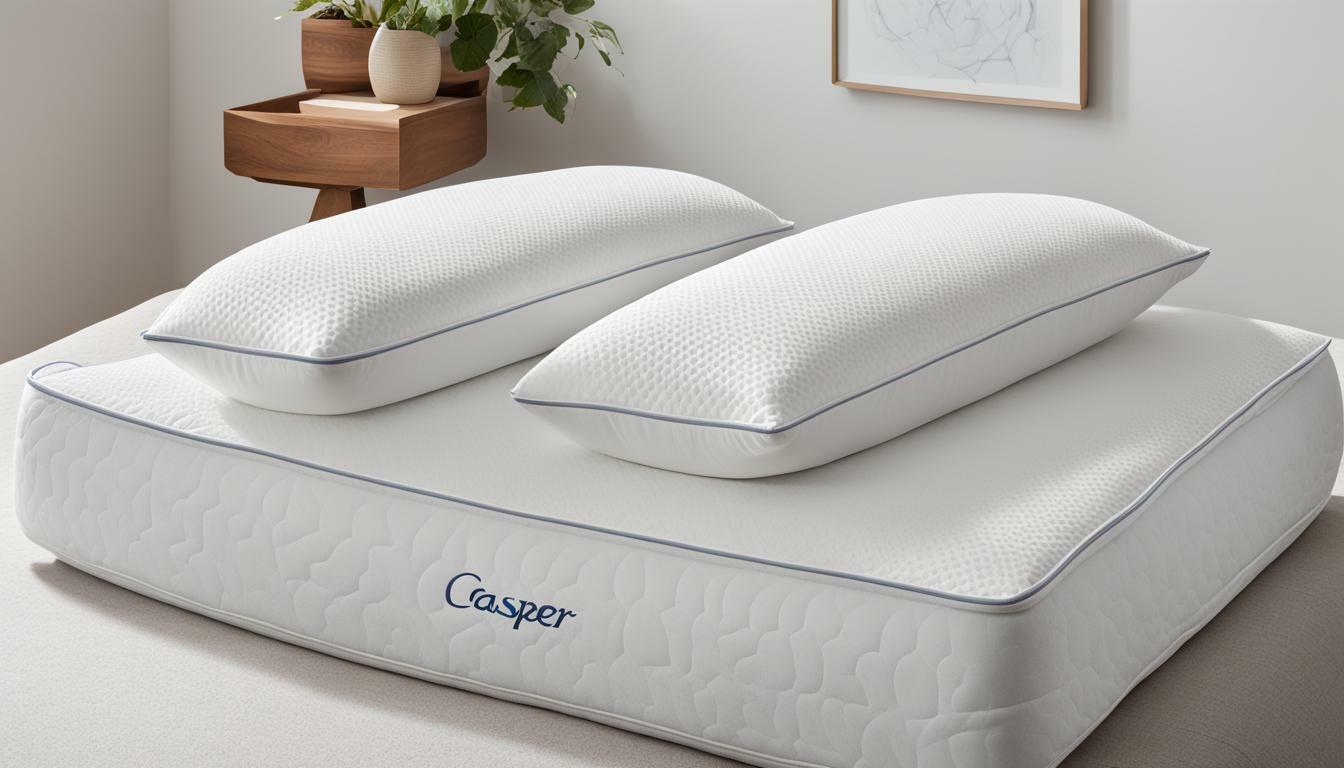
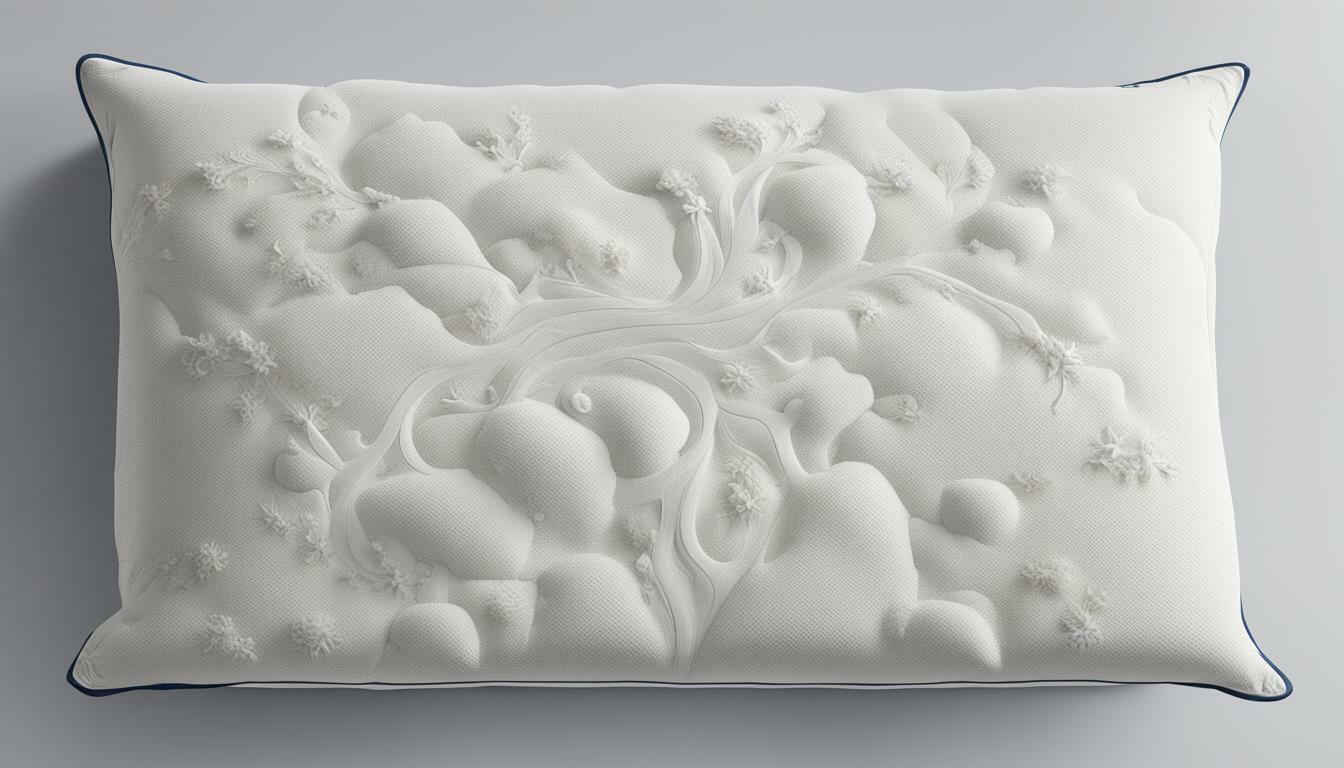
When it comes to home decor, sometimes the little details can make a big impact. So why not take your bedding up a notch by customizing your own pillowcases? Not only will they be perfectly tailored to your style and preferences, but they’ll also be a fun and creative project to take on. In this guide, we’ll walk you through everything you need to know about sewing pillowcases for customization.
Choosing the Right Fabric for Your Pillowcases
First things first, let’s talk about the fabric. The material you choose can make all the difference in the look and feel of your pillowcases. For a classic, crisp look, stick with 100% cotton or a cotton-poly blend. If you prefer something more luxurious, silk or satin might be a good option. When selecting your fabric, make sure to take into account both the color and pattern, as well as the texture and weight.
It’s also important to consider the durability and maintenance of the fabric. If you plan on using your pillowcases frequently, opt for a fabric that can withstand frequent washing and wear. Cotton and cotton-poly blends are typically easy to care for and can be machine washed and dried. Silk and satin, on the other hand, may require special care such as hand washing or dry cleaning. Keep in mind that certain fabrics may also be more prone to wrinkling or shrinking, so be sure to read the care instructions before making your final decision.
Measuring and Cutting Your Fabric
Once you’ve settled on your fabric, it’s time to measure and cut it. Standard pillowcases are usually around 20 inches by 30 inches, but if you’re working with a custom pillow size, make sure to adjust accordingly. When cutting, be sure to use a measuring tool like a ruler or a cutting mat with measurement lines. This will help ensure accurate cuts and a perfect fit.
It’s also important to consider the fabric’s pattern when cutting. If your fabric has a specific pattern or design, you’ll want to make sure that it lines up correctly on each side of the pillowcase. This may require some extra measuring and cutting, but the end result will be worth it for a polished and professional-looking pillowcase.
Tips for Preparing Your Sewing Machine
Before getting started on the sewing itself, it’s important to make sure your machine is prepped and ready to go. This means selecting the right thread color and needle size for your fabric, as well as properly threading your machine and adjusting the tension. Don’t forget to test your stitching on a scrap piece of fabric to make sure everything is working smoothly.
Another important step in preparing your sewing machine is to clean and oil it regularly. This will help to keep the machine running smoothly and prevent any damage or malfunctions. You should also check the bobbin and remove any lint or debris that may have accumulated. Taking these extra steps to maintain your machine will ensure that it lasts longer and produces high-quality stitching.
Step-by-Step Guide to Sewing Pillowcases
Now for the fun part – sewing your pillowcases! Start by folding your fabric in half with the right sides together, and sewing along the edge opposite the fold. Repeat on the other edge. This will create the open end of your pillowcase. Next, turn your pillowcase right side out, and fold over the edge of the open end twice to create a hem. Finally, sew along the hem’s edge to secure it in place. Repeat these steps for your second pillowcase.
For added decoration, consider adding a trim or piping to your pillowcases. You can sew this onto the edge of the fabric before folding and sewing the edges together. Another option is to use a contrasting fabric for the hem or to add a monogram or applique to the pillowcase. Get creative and have fun with your designs!
Adding Personalized Touches to Your Pillowcases
Now that you’ve got your basic pillowcases, it’s time to add some personal touches. This could be as simple as adding a border of contrasting fabric or embroidery, or as elaborate as a hand-painted design. Get creative with your embellishments and make your pillowcases truly your own.
One fun idea for adding a personalized touch to your pillowcases is to use iron-on transfers. You can find a variety of designs online or create your own using a program like Canva. Simply print the design onto transfer paper, cut it out, and iron it onto your pillowcase. This is a great option for those who may not have the skills or time for more intricate embellishments.
Creative Ideas for Embellishing Your Pillowcases
Looking for some inspiration for your pillowcase designs? Here are a few ideas to get you started:
- Use fabric paint or markers to draw patterns or designs on your pillowcases
- Add a monogram or initial to make it truly personalized
- Sew on lace or pom-pom trim for a playful touch
- Create a patchwork design by piecing together different fabrics
Caring for and Maintaining Your Customized Pillowcases
Once your pillowcases are complete, be sure to care for them properly to keep them looking great. Always follow the washing instructions on your fabric label, and consider washing them separately from the rest of your bedding to prevent any snagging or damage. If you’ve added any delicate embellishments, be sure to handle them with care when washing and drying.
How to Make Matching Pillow Shams
If you want to take your bedding customization to the next level, consider making matching pillow shams. These can be made using a similar process to the pillowcases, but with a few adjustments to the measurements to fit your pillows. You can also coordinate your designs to create a cohesive look.
Using Different Techniques to Create Unique Pillowcase Designs
Finally, don’t be afraid to experiment with different techniques to achieve unique pillowcase designs. From hand-sewn appliques to dyeing techniques like shibori, the possibilities are endless. Adding a fresh set of custom pillowcases to your bed is a fun and creative way to elevate your space, so have fun with it!


