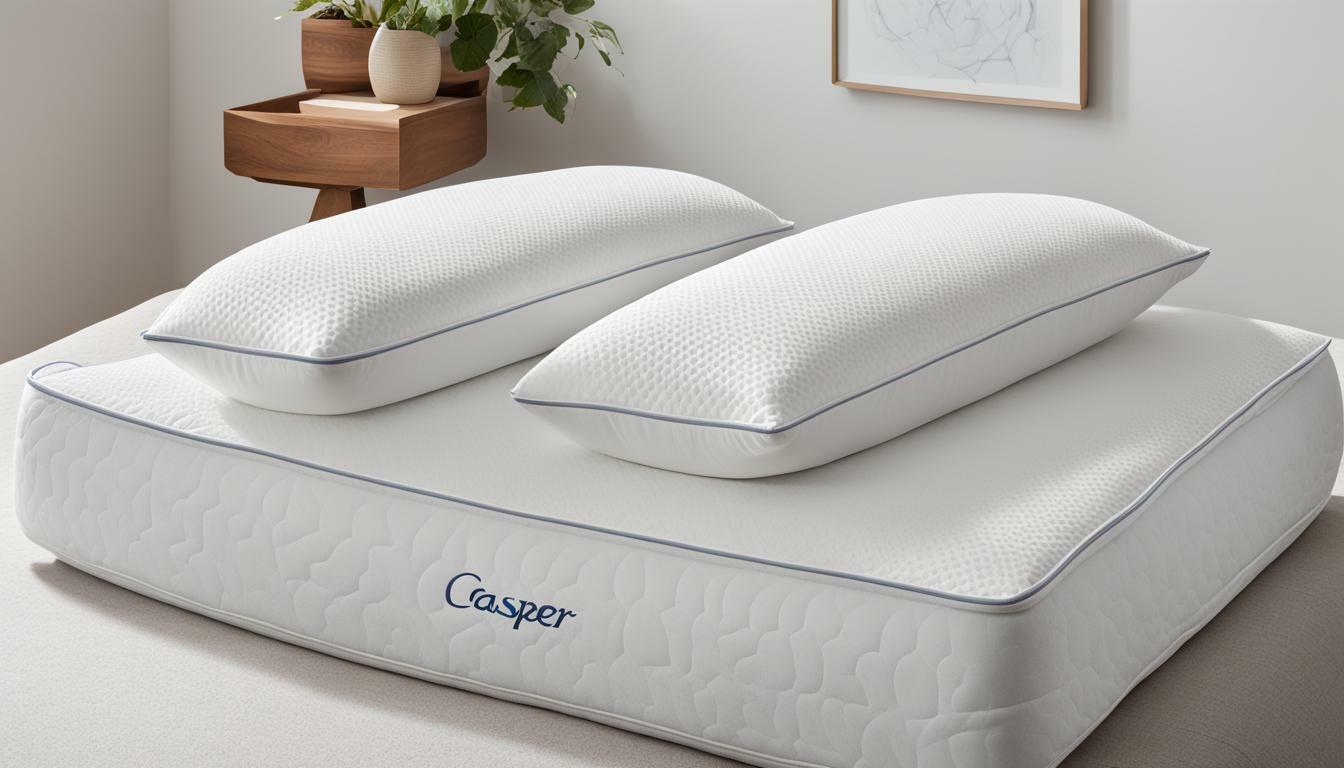
Pillowcases are considered to be one of the essential items for a cozy and comfortable night’s sleep. However, it can become a frustrating experience when your pillowcases are either too loose or too tight, leaving you constantly adjusting them throughout the night. The solution to this problem is simple – custom-made pillowcases that perfectly fit your pillows! In this article, we will guide you through the process of cutting pillowcases for a perfect fit.
Choosing the Right Fabric for Your Pillowcase
The fabric you choose for your pillowcase plays a crucial role in providing you with a restful sleep. Cotton is an ideal choice as it is soft, breathable, easy to care for, and feels great against the skin. But, you can also experiment with other fabrics like silk, flannel, or linen, depending on your preference.
It’s important to consider the thread count of the fabric as well. A higher thread count means a softer and more durable fabric. A thread count of 200-400 is considered good for cotton pillowcases. However, if you prefer a more luxurious feel, you can opt for a higher thread count of 600 or more.
Measuring Your Pillow for Accurate Cuts
Before you begin cutting your fabric, ensure that you have accurately measured your pillow. Measure the length, width, and height of your pillow. This will help you determine the dimensions of the fabric that you require. Add a few extra inches to the length and width to allow for seams and hems.
It is also important to consider the shape of your pillow when measuring for fabric. If your pillow has a unique shape, such as a curved edge or tapered corners, be sure to measure those areas as well. You may need to create a pattern or make adjustments to your fabric dimensions to ensure a proper fit. Taking the time to measure accurately will result in a well-fitted and professional-looking pillow cover.
Tips for Cutting Straight Lines and Angles
The secret to cutting straight lines and angles is to use a rotary cutter or a pair of fabric scissors. Ensure that the blades are sharp and have a good grip on the fabric. Use a straight edge ruler or a tape measure with a right angle to mark out your cuts. While cutting, be careful not to pull or stretch the fabric, as this can result in uneven cuts.
Another important tip to keep in mind is to always cut on a flat surface. This will ensure that your cuts are even and accurate. If you are working with a large piece of fabric, it may be helpful to fold it in half or quarters to make it more manageable. Additionally, if you are cutting multiple pieces of fabric for a project, it is a good idea to cut them all at once to ensure consistency in size and shape.
How to Sew a French Seam for a Professional Finish
A French seam is a double-stitched seam that encloses the raw edges of the fabric, giving it a neat and professional finish. To sew a French seam, begin by placing your fabric wrong side up and stitch along the edge with a thin seam allowance. Trim the seam allowance close to the stitching line, then press the seam flat. Turn the fabric right side up and fold it in half, enclosing the seam. Stitch it again along the edge with a slightly wider seam allowance. This will seal the raw edges inside the seam, giving it a clean and tidy finish.
French seams are commonly used in delicate fabrics such as silk and chiffon, as they prevent fraying and give a polished look to the garment. It is also a great option for seams that will be visible on the outside of the garment, such as in a sheer blouse or dress. However, it is important to note that French seams can add bulk to the fabric, so it may not be suitable for thicker fabrics or areas where there are multiple layers of fabric. With practice, sewing a French seam can become a simple and effective technique to elevate the look of your sewing projects.
Adding Decorative Touches to Your Pillowcase Design
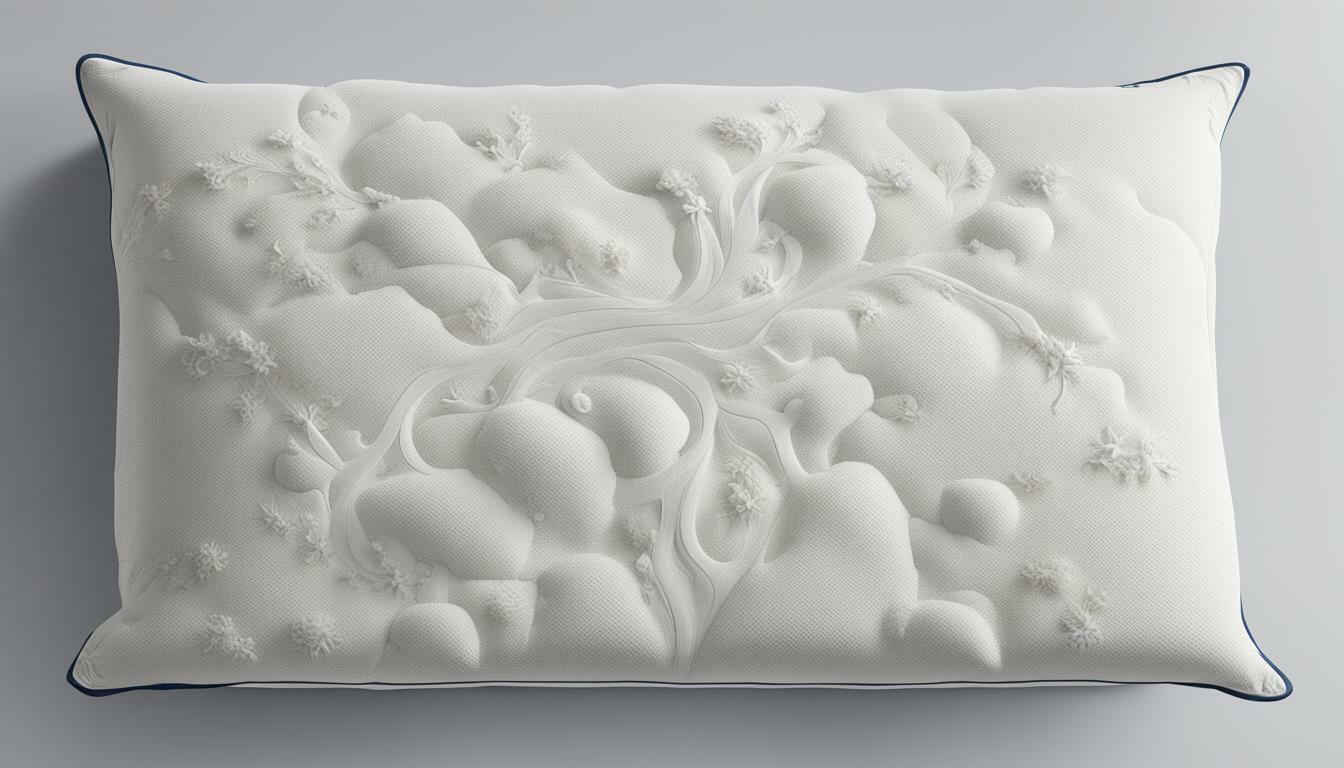
Pillowcases are an excellent way to add a personal touch to your bedding set. You can add decorative elements such as lace, embroidery, or appliqué to your pillowcases. These can be applied to the cuff of the pillowcase or along the edges. Be creative and use your imagination to create unique designs that reflect your style and personality.
When choosing decorative elements for your pillowcase design, consider the color scheme of your bedding set. You can choose complementary colors or opt for a contrasting color to make your pillowcases stand out. Additionally, you can experiment with different textures and fabrics to add depth and interest to your design. Remember, the possibilities are endless when it comes to creating a personalized pillowcase design!
Making Matching Pillowcases for Your Bedding Set
If you want to create a cohesive look for your bedding set, it’s essential to have matching pillowcases. Follow the same steps as above for each pillowcase, selecting the fabric and embellishments that fit your style. This will create a beautifully coordinated and unified look for your bedding.
Repurposing Old Sheets and Fabrics into New Pillowcases
Don’t let your old sheets and fabrics go to waste! You can upcycle them into new pillowcases. The process is simple. Measure and cut your fabric to the appropriate dimensions, following the steps above. You can use different pieces of fabric to create unique designs, or even combine them with embellishments for a one-of-a-kind look.
Common Mistakes to Avoid When Cutting and Sewing Pillowcases
While cutting and sewing pillowcases, several mistakes can end up ruining your entire project. Be careful not to pull or stretch the fabric while cutting, as it can result in uneven cuts. Similarly, be cautious while stitching to avoid any misalignments, which can make the pillowcase look clumsy or lopsided. Lastly, be mindful of the seam allowances, as they can cause the pillowcase to be too loose or too tight fitting.
By following these tips, your pillowcases will fit your pillows perfectly, providing you with the comfort and rest that you deserve.


