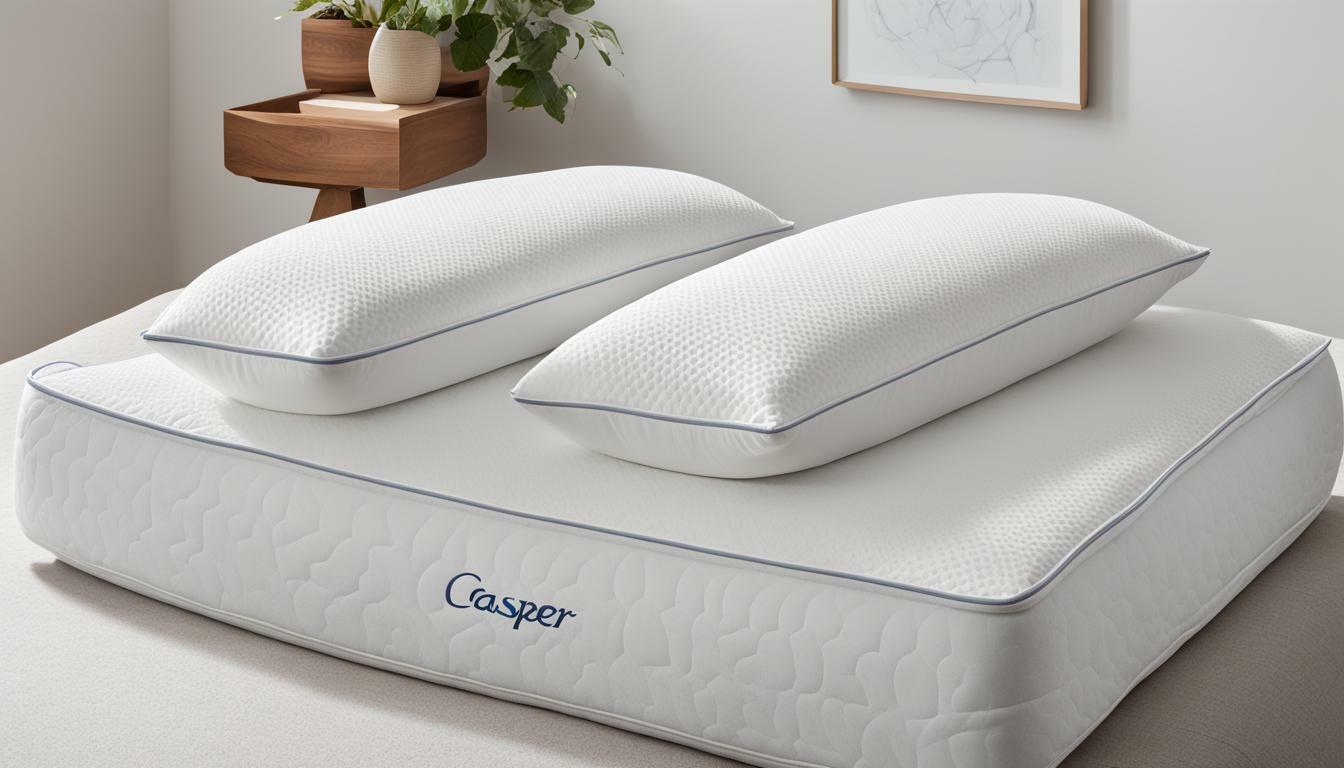
Pillowcases are an important part of any bedding ensemble, and making your own can be a fun and rewarding DIY project. Not only can you choose your own fabric and trims for a personalized touch, but you can also create coordinated pillowcases that complement your existing bedding or create a statement look all their own. In this article, we’ll guide you through the process of making pillowcases from start to finish, including choosing fabric, measuring and cutting, sewing, adding decorative accents, and caring for your finished product.
Choosing the Right Fabric for Your Pillowcases
The first step in making pillowcases is selecting the fabric. Cotton, linen, and flannel are popular choices for pillowcases because they’re soft, breathable, and durable. When choosing your fabric, consider the weight and pattern. You want something that’s substantial enough to hold up to regular use and washing, but not so heavy that it’s uncomfortable to sleep on. Patterns can range from solid colors to stripes to floral prints, depending on your personal style and the look you’re going for. Keep in mind that if you’re using patterned fabric, you’ll want to choose a coordinating solid color for the cuff or trim.
Another important factor to consider when choosing fabric for your pillowcases is the thread count. Thread count refers to the number of threads woven into one square inch of fabric. Generally, the higher the thread count, the softer and more luxurious the fabric will feel. However, a high thread count doesn’t necessarily mean better quality. Look for a thread count between 200 and 400 for a comfortable and durable pillowcase. Additionally, consider the weave of the fabric. Percale and sateen weaves are popular choices for pillowcases, with percale being more crisp and cool, and sateen being more silky and smooth.
Measuring and Cutting Pillowcase Fabric
Once you’ve chosen your fabric, it’s time to measure and cut it to size. Standard pillowcases are typically 20 inches by 26 inches, but you can adjust the measurements to fit your own pillow. Add an extra inch to the width and two inches to the length for the cuff and hem. Cut two pieces of fabric to the desired measurements, then fold each piece in half with right sides together. Cut a strip of coordinating fabric for the cuff, about 4 inches wide and the same length as the pillowcase.
It’s important to note that different fabrics may require different cutting techniques. For example, if you’re working with a fabric that frays easily, you may want to use pinking shears or a serger to finish the edges. On the other hand, if you’re working with a knit fabric, you may want to use a rotary cutter to ensure a clean, straight edge. Take the time to research the best cutting techniques for your chosen fabric to ensure a professional-looking finished product.
Sewing Your Pillowcases: Step-by-Step Instructions
With your fabric and cuff ready, it’s time to start sewing. Here are step-by-step instructions:
- Pin the cuff to the top of one of the pillowcase pieces, right sides together.
- Sew the cuff to the pillowcase using a 1/4 inch seam, then press the seam flat.
- With right sides together, place the other pillowcase piece on top of the one with the cuff attached. Pin the sides and bottom, then sew using a 1/2 inch seam.
- Trim the seams and corners, then turn the pillowcase right side out and press.
- On the open end of the pillowcase, fold the fabric over twice and sew using a 1/4 inch seam to create the hem.
Once you have completed sewing your pillowcase, you can add some personal touches to make it unique. You can add decorative trim, embroidery, or even appliques to the pillowcase. You can also experiment with different fabrics and patterns to create a variety of pillowcases to match your bedding or decor. With these simple steps, you can create beautiful and functional pillowcases that will add a touch of style to your bedroom.
Adding Decorative Trims and Accents to Your Pillowcases
To give your pillowcases a personalized touch, consider adding decorative trims and accents. Ribbon, lace, and pom-pom trim are all popular options, and can be sewn onto the cuff or hem for a fun pop of color or texture. You could also consider adding an applique or embroidery design to the pillowcase for a customized look.
Coordinating Your Pillowcases with Other Bedding Elements
You can create a cohesive look for your bedding by coordinating your pillowcases with other elements, such as the duvet cover, sheets, and shams. Choose fabrics that complement each other in terms of color and pattern, and consider adding in accent pillows or throws for an extra pop of style.
Mixing and Matching Patterns for a Unique Look
If you’re feeling adventurous, try mixing and matching patterns for a unique look. Choose fabrics with varying scales of prints, but try to stick with a consistent color palette. You could also use a bold print for the pillowcase body and a coordinating solid for the cuff and trim.
Creating Customized Pillowcases with Embroidery or Monograms
One way to make your pillowcases extra special is by adding embroidery or a monogram. You could choose a favorite quote, a meaningful design, or simply your name or initials. Consider using a contrasting thread color or a metallic thread for added visual interest.
Tips for Caring for Your Homemade Pillowcases
To ensure that your homemade pillowcases last as long as possible, follow these tips for caring for them. Wash them in cold water and hang them to dry, as heat can damage both the fabric and any decorative accents you’ve added. If you need to iron the pillowcases, use a low setting and avoid pressing directly on any trims or embroidery. And finally, store your pillowcases in a dry, cool place to prevent any damage from moisture or sunlight.
Creative Ideas for Using Leftover Fabric Scraps from Your Project
If you have leftover fabric scraps from your pillowcase project, don’t let them go to waste. There are plenty of creative ways to use them! You could create a patchwork quilt or pillow, make fabric-covered buttons or hair accessories, or even create a coordinating sleep mask or pajama set.
With these tips and instructions, you’re ready to make your own coordinated pillowcases that are both stylish and functional. Happy sewing!


