Ever looked at your bed and thought, ‘I could totally make those pillowcases myself’? Well, you’re in luck! Making a pillowcase is actually a super simple sewing project, perfect for anyone just starting out or looking for a quick win. Forget complicated patterns or fancy techniques; we’re going to break down how to create a comfy pillowcase with ease. It’s a great way to use up fabric scraps or just add a personal touch to your bedroom. So grab your fabric, and let’s get this done!
Key Takeaways
- Gathering your supplies is the first step in making a pillowcase, including fabric, thread, and basic sewing tools.
- Precise fabric cutting is important, with standard dimensions provided, but easily adjustable for different pillow sizes.
- Constructing the pillowcase involves simple folding, pinning, and sewing of the main body seams.
- Creating a neat cuff adds a professional look to your finished pillowcase.
- Finalizing your pillowcase includes turning, pressing, and a quick inspection to ensure a polished look.
Gathering Your Pillowcase Supplies
Alright, let’s get down to business! Before we can start whipping up some fancy new pillowcases, we need to make sure we have all our ducks in a row, or rather, all our fabric and tools ready to go. It’s not complicated, but having everything handy makes the whole process so much smoother. You’ll be surprised how quickly you can go from a pile of fabric to a finished pillowcase.
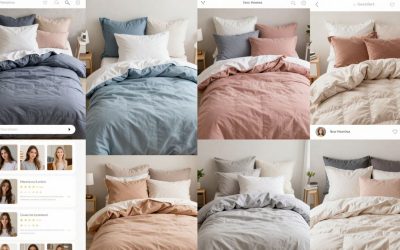
Essential Fabric Choices
When it comes to fabric, you have a few good options. For beginners, quilting cotton is a fantastic choice. It’s sturdy, easy to find, and doesn’t stretch out, which makes it super forgiving. You can also use flannel for a cozier feel, or even sateen or satin if you’re feeling a bit more luxurious. If you’ve got leftover fabric from a quilt project, this is the perfect way to use it up! For a standard pillowcase, you’ll typically need about a yard of fabric. If you’re planning on a contrasting cuff, you’ll need a bit more, maybe 1 1/2 yards total, split between two fabrics. This is where you can really play with patterns and colors to make something unique. Think about how you want your finished pillowcase to feel and look – that will guide your fabric selection.
Tools for Effortless Sewing
Now, let’s talk tools. You don’t need a whole workshop, just a few key items. Of course, you’ll need a sewing machine. If yours is a bit temperamental, give it a quick tune-up beforehand. You’ll also need a good pair of scissors or a rotary cutter, along with a cutting mat and ruler. These are super helpful for getting straight, clean cuts, which makes sewing a breeze. Don’t forget pins to hold your fabric pieces together while you sew. A measuring tape is also a must-have for getting your dimensions just right. If you’re aiming for a really neat finish, a point turner or even a chopstick can be handy for pushing out those corners.
Thread and Notions
Thread is pretty straightforward, but it’s worth mentioning. Make sure you have thread that matches your fabric, or a contrasting color if you want that detail to pop. You’ll need a needle for your sewing machine – a universal size 90/14 is usually a good bet for most fabrics like quilting cotton. Beyond that, the main "notions" are really just your fabric and thread. If you like adding a personal touch, you might consider a small fabric label to sew in. It’s a nice little detail that makes your handmade item feel even more special. For a comfortable pillow nest with an Acanva bed pillow, the right pillow is key, and so are the surrounding elements.
Having all your supplies gathered before you start cutting and sewing is a game-changer. It prevents those frustrating moments of realizing you’re missing something halfway through a step. A little preparation goes a long way in making this project truly effortless.
Precise Fabric Cutting for Pillowcases
Getting your fabric cut accurately is the first big step to making a pillowcase that looks neat and fits your pillow just right. It might seem simple, but a little attention here saves a lot of fuss later on. We’re aiming for clean lines and dimensions that work.
Standard Pillowcase Dimensions
For a standard pillow, which is typically 20 inches by 26 inches, you’ll want to cut your fabric pieces to accommodate that size plus seam allowances and the cuff. A common approach is to cut two pieces of fabric, each measuring around 21 inches wide by 29.5 inches long. This gives you a little wiggle room for sewing.
Adjusting for Queen and King Sizes
If you’re working with queen or king-sized pillows, the cutting dimensions need a little tweak. For a queen pillow (usually 20×30 inches), you’d cut your fabric pieces a bit longer, perhaps 21 inches wide by 33.5 inches long. For a king pillow (often 20×36 inches), aim for 21 inches wide by 39.5 inches long. It’s always good to double-check your specific pillow’s measurements before you cut.
Here’s a quick look at common sizes:
| Pillow Size | Finished Case (Approx.) | Fabric Cut (2 pieces) |
|---|---|---|
| Standard | 20" x 26" | 21" x 29.5" |
| Queen | 20" x 30" | 21" x 33.5" |
| King | 20" x 36" | 21" x 39.5" |
Preparing Fabric Edges
Before you start cutting, it’s a good idea to make sure your fabric has a nice, straight edge to begin with. If your fabric has selvages (the finished edges from the loom), you’ll want to trim those off. Sometimes the ends of the fabric can be a bit wonky from being rolled up, so a quick trim there helps a lot. Making sure you start with a straight edge is key for accurate cuts. You can use a rotary cutter and ruler for this, or even just sharp scissors if that’s what you have. A straight edge makes all the difference when you’re trying to get precise cuts for your pillowcase project.
Cutting your fabric straight is more important than you might think. It affects how your seams line up and how the final pillowcase looks. Take a few extra minutes to get those edges nice and square before you measure and cut your main pieces. It’s a small step that really pays off.
Remember, accuracy in cutting makes the rest of the sewing process much smoother. You can find great quilting cotton fabric at many fabric stores, perfect for your first pillowcase.
Constructing The Pillowcase Body
Folding and Pinning Fabric Pieces
Alright, now that everything’s cut and prepped, it’s time to start putting the actual pillowcase together. This part is pretty straightforward. You’ll take your main fabric piece and fold it in half, making sure the right sides of the fabric are facing each other. Line up all the raw edges as neatly as you can. Then, grab your sewing pins or clips and secure those edges. You’ll want to pin along one of the long sides and one of the short sides. Don’t pin the side that will become the opening, or the side that will eventually be tucked into the cuff.
Sewing the Main Seams
With your fabric pinned, it’s time to hit the sewing machine. We’re going to sew those two pinned edges. Use a seam allowance of about 1/2 inch. Go slow and steady, especially around the corners, to make sure you get a nice, straight line. This seam is what forms the body of your pillowcase. Once you’ve sewn both the long and short sides, you’ll have a sort of fabric tube with one open end. If you’re feeling fancy and want a really clean finish inside, you could try a French seam here, but a simple zigzag stitch along the raw edge will also work just fine to stop fraying.
Finishing Raw Edges
After you’ve sewn those main seams, take a look at the raw edges inside. If you just leave them as they are, they’ll likely fray over time, and nobody wants a pillowcase falling apart after a few washes, right? So, we need to finish them. You have a few options here:
- Zigzag Stitch: This is a super common and easy method. Just set your sewing machine to a zigzag stitch and sew along the very edge of the seam allowance. It kind of catches the raw edge and prevents it from unraveling.
- Serger/Overlocker: If you have a serger, this is its moment to shine. A quick pass with the serger will trim and finish the edge all in one go, giving it a really professional look.
- French Seams: This method encloses the raw edges completely within the seam itself. It takes a little extra time and an extra stitching step, but the result is beautiful and super durable. You’ll sew a small seam first with the fabric wrong sides together, trim it down, then turn the fabric right sides together and sew again, enclosing the first seam.
Whichever method you choose, the goal is to make sure those raw edges are neat and won’t cause problems down the line. It’s a small step that makes a big difference in the longevity and look of your finished pillowcase.
Creating The Pillowcase Cuff
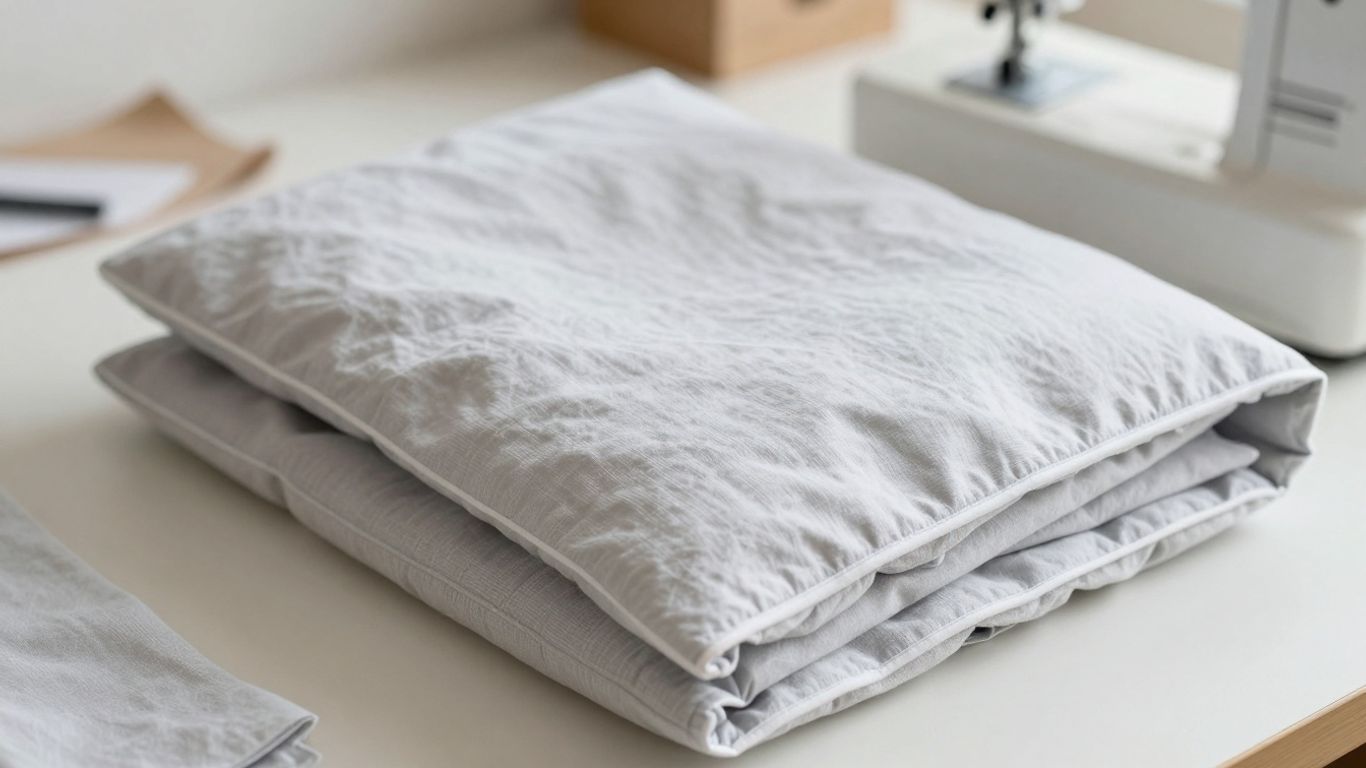
Now for the part that really makes your pillowcase look finished and fancy – the cuff! This isn’t just about looks, though; it adds a nice weight and structure to the opening of your pillowcase. We’re going to create a "faux" cuff, which is a super clever way to get that professional look without a ton of extra steps. It’s all about folding and pressing like a pro.
Folding and Pressing the Cuff
First things first, grab your main pillowcase piece and the fabric you’ve designated for the cuff. You’ll want to fold the top edge of the main pillowcase fabric down by about 5 inches. Give that a good press all the way around. This creates a nice, crisp fold that will become the base of our cuff. Don’t turn the pillowcase right side out yet; keep it inside out for this step. It might feel a little awkward, but trust me, it works.
Securing the Faux Cuff
With that first fold pressed, it’s time for the second fold. Now, fold that same top edge to the inside, another 5 inches. This is where the "faux" part comes in. Instead of sewing along the bottom edge of this second fold like you might for a regular hem, we’re going to sew about 3/8 inch from the top folded edge. This creates a channel for the cuff and gives it that lovely, clean finish. Use your sewing machine and just stitch all the way around, using the edge of your presser foot as a guide for a consistent seam. This little trick makes all the difference in achieving that polished look.
Adding Accent Details
This is where you can really play around and add your personal touch. While the "faux" cuff itself is an accent, you can take it a step further. Some people like to add a contrasting trim or even a bit of ribbon right before you make that second fold. Just make sure the raw edges of your trim line up with the raw edges of the cuff and main fabric pieces. When you sew the cuff down, you’ll be catching that trim in the seam, making it look like it was part of the original fabric. It’s a small detail, but it really makes your handmade pillowcase stand out from the crowd. You could also use a decorative stitch on your sewing machine along the top edge of the cuff for a subtle, yet stylish, detail.
Finalizing Your Pillowcase
Alright, we’re in the home stretch! It’s time to give your newly sewn pillowcase that polished, professional look. This is where all your careful cutting and stitching really pay off.
Turning and Pressing the Case
First things first, let’s get this thing turned right side out. Gently push out the corners using a chopstick or a point turner tool. You don’t want any sharp, awkward angles; aim for nice, clean corners. Once it’s all turned, give the entire pillowcase a good press with your iron. Focus on the seams to make them lie flat. This step makes a huge difference in how finished your pillowcase looks. It’s amazing what a little heat and pressure can do!
Adding Custom Labels
If you’re feeling fancy, or if you’re making these as gifts, now’s the perfect time to add a custom label or tag. Decide where you want it – maybe near the opening or on the side seam. Baste it in place about 1/4 inch from the edge. Remember to account for the seam allowance when placing your label so it doesn’t get swallowed up by the stitching. A little label adds such a personal touch, making your handmade item feel even more special. It’s a small detail that really shows you care.
The Final Press and Inspection
Give your pillowcase one last, thorough press. Make sure everything is smooth and crisp. Check all the seams one more time to ensure they’re secure and neat. Look for any stray threads that need trimming. You’ve put in the work, so take a moment to admire your handiwork! You’ve just created a beautiful, custom pillowcase that’s ready to grace your bed. Making your own bedding is a rewarding way to personalize your space, and it’s surprisingly achievable. If you’re looking to create more custom bedding items, consider making a soft body pillow for extra comfort.
Here’s a quick checklist for your final inspection:
- Are all seams straight and secure?
- Are the corners nicely turned and pressed?
- Is the cuff crisp and even?
- Are there any loose threads?
- Does it look and feel great?
You Did It!
And there you have it! You’ve just made your very own pillowcase. See? It wasn’t that hard at all. Now you can whip these up in no time, and think of all the fun you can have with different fabrics. Maybe you’ll make a whole set for your bed, or perhaps some for guests. It’s a pretty satisfying feeling to make something useful with your own hands. So go ahead, grab another piece of fabric, and make another one. Happy sewing!
Frequently Asked Questions
What kind of fabric works best for making pillowcases?
You can use many types of fabric! Quilting cotton is a popular choice because it’s sturdy and soft. Flannel is great for cozy winter pillowcases, and fabrics like sateen or satin give a fancier feel. Just make sure the fabric you pick is comfortable to sleep on.
Do I need a special sewing machine to make a pillowcase?
Nope! A regular sewing machine is all you need. Most pillowcase patterns use simple straight stitches. If you have a serger, you can use it to finish the edges nicely, but it’s not required.
How much fabric do I need for one pillowcase?
For a standard-size pillowcase, you usually only need about one yard of fabric. This is great because it means less waste and it’s an economical project!
Can I make pillowcases for different pillow sizes like Queen or King?
Absolutely! The basic steps are the same, but you’ll just need to cut your fabric a little larger. Most tutorials will give you the exact measurements for Queen and King sizes, so you can easily adjust the pattern.
What’s the easiest way to finish the inside seams?
For a super simple and fast project, you can finish the raw edges with a zig-zag stitch on your sewing machine. If you want a really neat and professional look, you can try sewing French seams, which hide all the raw edges inside.
How long does it take to sew a pillowcase?
Once you get the hang of it, sewing a pillowcase can be really quick! Many people can make one in about 15 to 30 minutes. It’s a perfect project for when you want to finish something fast and feel accomplished.