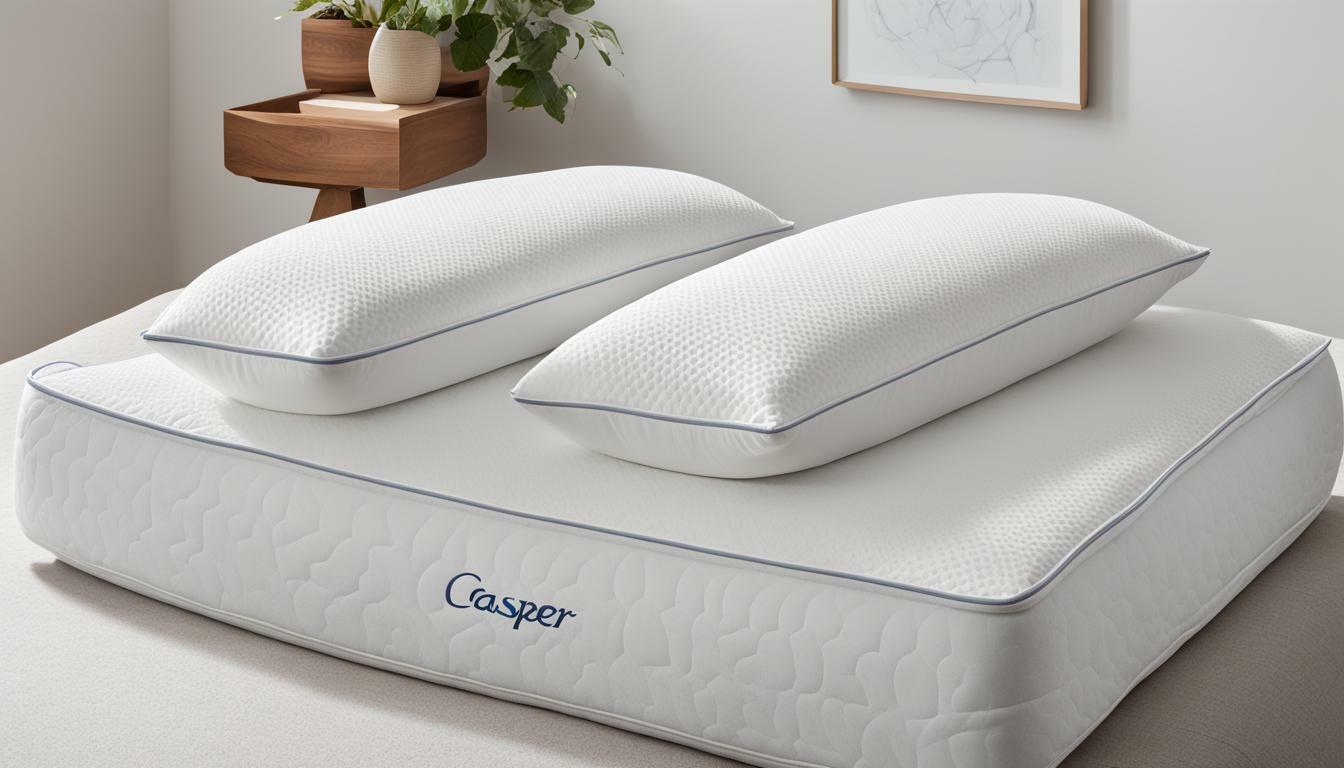
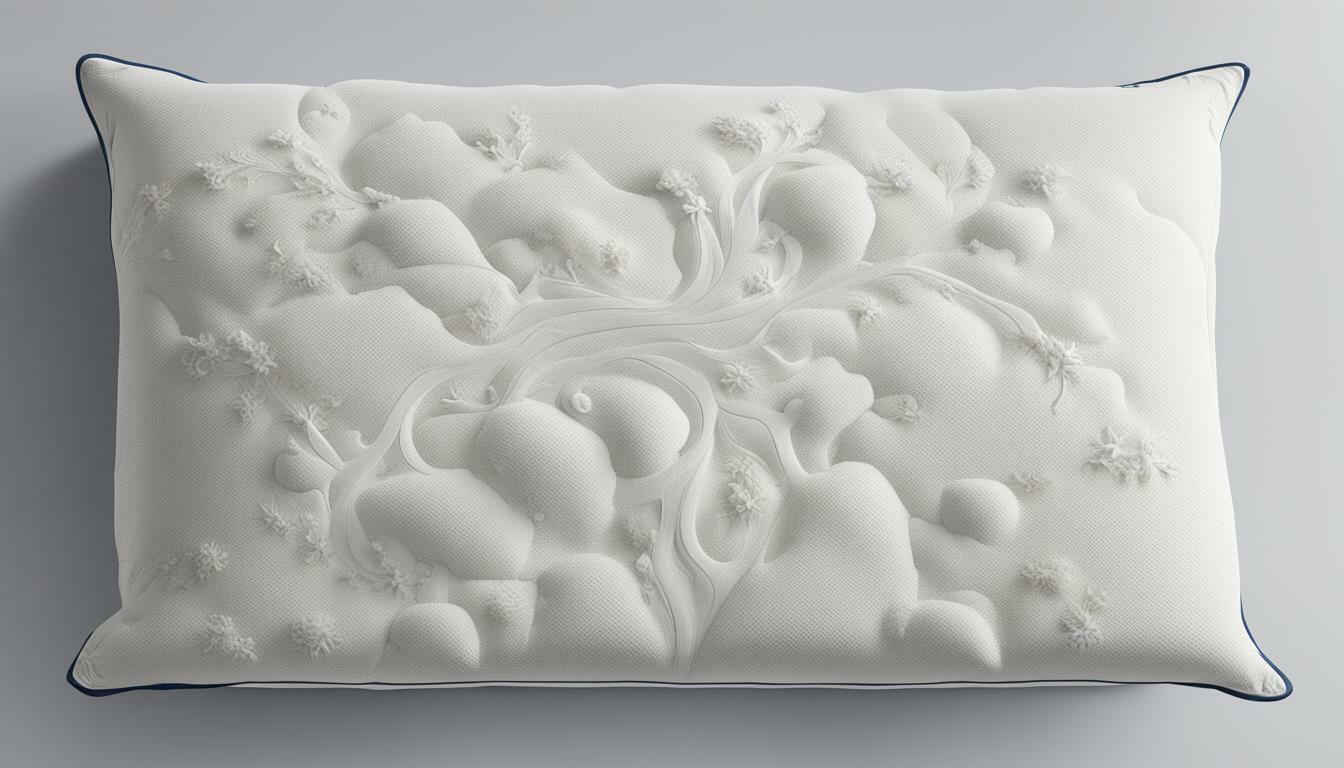
If you’re searching for a fun and simple sewing project that can add a splash of personality to your decor, a handmade decorative pillow cover is an excellent option. By following just a few steps, you can create a unique and stylish addition to your space that reflects your personal taste and style. Here’s everything you need to know about making a decorative pillow cover.
Selecting the right fabric for your pillow cover
The first step in making a decorative pillow cover is choosing the right fabric for your project. Consider the color scheme and style of your room to guide your selection, and keep in mind the texture and weight of the fabric you choose. You’ll want a durable yet comfortable material that will hold up over time and withstand regular use without looking worn or faded.
Another important factor to consider when selecting fabric for your pillow cover is the cleaning and maintenance requirements. Some fabrics may require special care, such as dry cleaning or hand washing, while others can be easily machine washed. It’s important to choose a fabric that fits your lifestyle and cleaning preferences to ensure that your pillow cover stays looking fresh and new for as long as possible.
Measuring and cutting the fabric to fit your pillow
To ensure that your pillow cover fits your pillow snugly, start by measuring your pillow width and length. Then, add one inch to both dimensions to account for seam allowances. Use these measurements to cut two fabric pieces, one for the pillow front and one for the back.
It’s important to choose the right type of fabric for your pillow cover. If you’re making a decorative pillow, consider using a fabric with a pattern or texture that complements your decor. If you’re making a pillow for everyday use, choose a durable fabric that can withstand frequent washing and wear. Cotton, linen, and polyester blends are all good options for pillow covers.
Preparing the fabric for sewing by washing and ironing
Before you start sewing, wash and iron your fabric to remove any debris or wrinkles that could affect the final product. This step is essential to help your pillow cover maintain its shape and appearance over time.
It is important to note that different fabrics require different washing and ironing methods. For example, delicate fabrics such as silk or lace may require hand washing and air drying, while cotton or linen can be machine washed and dried on a low heat setting. Always check the care label on your fabric before washing and ironing to ensure you are using the correct method.
Adding a zipper or buttons for easy access to the pillow insert
Next, decide how you want to close the opening of your pillow cover. Adding a zipper or buttons can make it easier to insert and remove the pillow, and can add a unique touch to your homemade creation. Make sure to sew the closure mechanism into the center of the back piece, leaving a gap in the seam for turning the pillow cover right side out and inserting the pillow.
It’s important to choose the right type of closure for your pillow cover based on your skill level and the overall design of the pillow. Zippers can be tricky to sew in, but they provide a sleek and modern look. Buttons, on the other hand, are easier to sew and can add a charming touch to a more traditional or rustic pillow design. Consider the overall aesthetic you’re going for and choose the closure that best fits your vision.
Sewing the front and back pieces together
Now it’s time to sew the front and back pieces of the pillow cover together. Place the fabric right sides together, pin along the edges, and sew a straight stitch around three sides, leaving the side with the zipper or buttons open. Once the cover has been sewn, trim the excess fabric at the corners to help reduce bulk and create a neat finish.
It’s important to note that the type of closure you choose for your pillow cover will affect the way you sew the final side. If you’re using a zipper, make sure to sew it in place before sewing the final side. If you’re using buttons, you’ll need to sew buttonholes on one side and buttons on the other before sewing the final side. Once your closure is in place, sew the final side closed and turn the cover right side out. Your pillow cover is now complete!
Adding decorative touches like piping or tassels
If you want to add a little something extra to your pillow cover, consider embellishing it with piping, tassels, or other decorative touches. This can help to give your project a unique and personalized look that will stand out from store-bought options.
When choosing decorative touches for your pillow cover, it’s important to consider the overall style and color scheme of the room where it will be used. For example, if you have a modern and minimalist space, you may want to opt for simple piping in a neutral color. On the other hand, if you have a bohemian or eclectic style, you could choose colorful tassels or fringe to add a playful touch to your pillow cover. Whatever you choose, make sure it complements the rest of your decor and adds to the overall aesthetic of the room.
Tips for creating a professional finish, including pressing seams and trimming excess fabric
For a polished and professional look, always remember to press your seams and trim any excess fabric, both inside and out. This will help to give your pillow cover a smooth and even appearance, and will help to prevent any uneven seams or bulk.
In addition to pressing seams and trimming excess fabric, another tip for achieving a professional finish is to use high-quality materials. Choose fabrics that are durable and easy to work with, and invest in good quality thread and sewing tools. This will not only make the sewing process easier, but it will also ensure that your finished product looks and feels high-quality.
Finishing touches like adding a label or tag to your handmade pillow cover
To add a final flourish to your handmade creation, consider adding a label or tag to your pillow cover. This can help to identify your unique piece and can make it a special addition to your decor.
When choosing a label or tag, consider using materials that complement the fabric of your pillow cover. For example, if your cover is made of linen, a simple woven label in a neutral color can add a subtle touch of elegance. Alternatively, if your cover features a bold print, a colorful tag with a playful design can add a fun and whimsical element.
Ideas for customizing your pillow cover with embroidery, applique, or other embellishments
If you want to make your pillow cover even more individual, consider using embroidery or applique to add a unique design or pattern. This is a great way to showcase your creativity and make your pillow cover truly one-of-a-kind.
By following these simple steps, you can easily create a beautiful and stylish decorative pillow cover that reflects your unique style and taste. Whether you’re a seasoned sewist or just starting out with a new hobby, this project is sure to provide a sense of accomplishment and a gorgeous finished product that you’ll enjoy for years to come.


