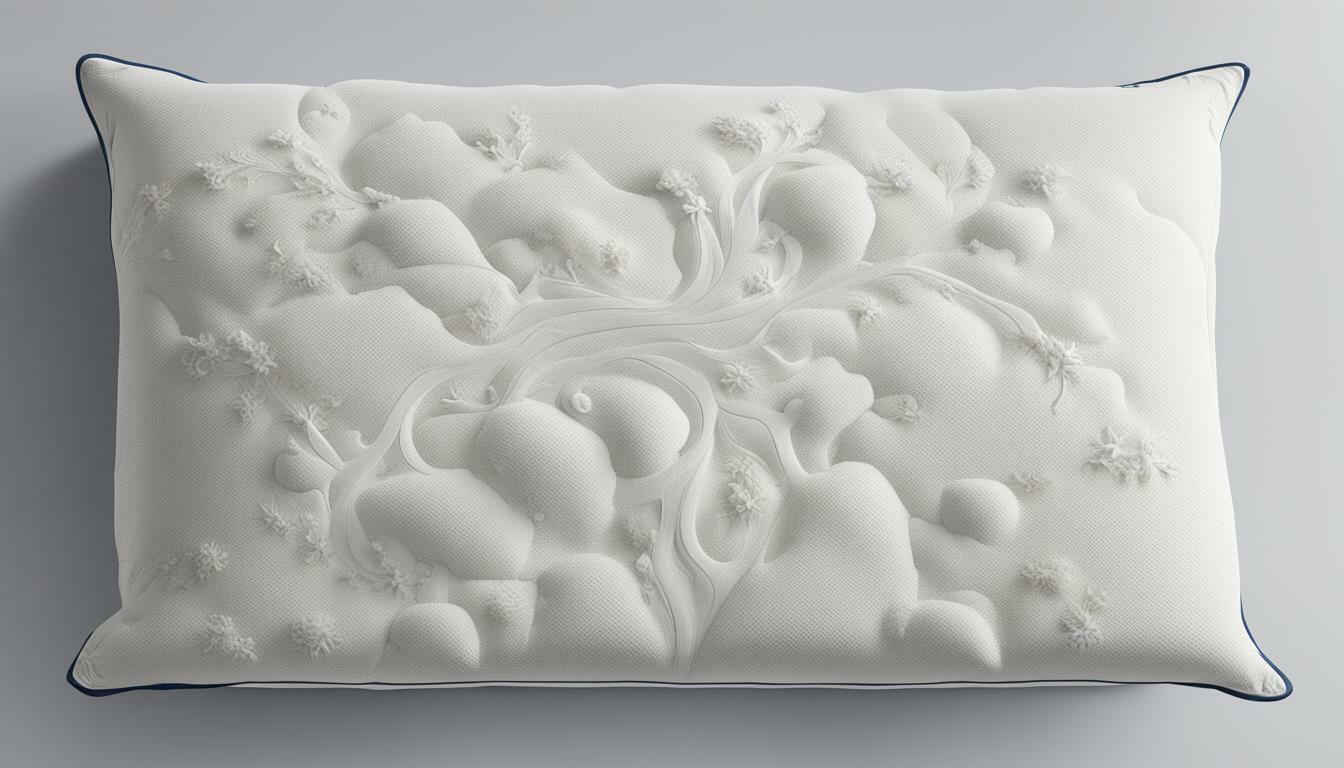
Embroidering a pillow case is a creative and rewarding activity that requires the right combination of tools, skills, and materials. It’s a great way to add personality and style to your home decor, or simply create a unique gift for a loved one. In this article, we will explore everything you need to know to get started with embroidery on pillow cases, from choosing the right fabric and tools to mastering different types of stitches and adding texture with threads.
Choosing the Right Pillow Case for Embroidery
The first step in embroidering a pillow case is to choose the right fabric. Pillow cases made of natural fibers such as cotton or linen are ideal for embroidery because they are soft, breathable, and easy to work with. Avoid using synthetic fabrics such as polyester, as they tend to be more difficult to stitch and may not hold the embroidery as well as natural fibers.
When selecting a pillow case for embroidery, consider the size, color, and texture of the fabric. You may want to choose a solid color or a subtle pattern that will showcase your embroidery design. Embroidery on textured fabrics such as jute or velvet can also add a tactile dimension to your work.
Another important factor to consider when choosing a pillow case for embroidery is the thread count of the fabric. A higher thread count means that the fabric is more tightly woven, which can provide a smoother surface for embroidery. However, a lower thread count may be more forgiving for beginners, as it can be easier to stitch through. Ultimately, the thread count you choose will depend on your personal preference and skill level.
Essential Tools and Supplies for Embroidering a Pillow Case
To embroider a pillow case, you will need a few essential tools and supplies, including:
- Embroidery hoops: These are used to hold the fabric in place while you stitch.
- Embroidery needles: These come in different sizes and shapes, depending on the type of embroidery you are doing. Be sure to choose a needle that is appropriate for your fabric.
- Embroidery thread: Cotton embroidery floss is a popular choice for pillow case embroidery because it is soft, durable, and comes in a wide range of colors.
- Embroidery scissors: These are small, sharp scissors that are used to trim the thread and snip away excess fabric.
- Transfer paper or pencil: This is used to transfer your embroidery design onto the fabric before stitching.
In addition to these essential tools and supplies, you may also want to consider using a thimble to protect your fingers while stitching, a needle threader to help thread your needle more easily, and a magnifying glass or lamp to help you see your stitches more clearly. It’s also a good idea to have a clean, flat work surface and good lighting to make your embroidery work easier and more enjoyable.
Preparing the Fabric for Embroidery
Before you begin embroidering your pillow case, it’s important to prepare the fabric to ensure that it is clean, smooth, and free of wrinkles.
Start by washing and ironing the fabric to remove any dirt, oils, or creases that may interfere with your embroidery. Use a mild detergent and avoid using fabric softeners, which can leave a residue that may affect the embroidery thread. Allow the fabric to dry completely before ironing it on the reverse side.
Once the fabric is clean and dry, you can transfer your embroidery design onto it using a transfer pen or pencil, or by using a transfer paper. Make sure to center the design on the fabric and secure it in place with pins or a hoop. You can also use a stabilizer to prevent the fabric from puckering or stretching during the embroidery process.
Transferring the Embroidery Design to the Pillow Case
Once you have prepared the fabric, it’s time to transfer your embroidery design from paper or pencil onto the fabric.
There are several ways to transfer your design, including:
- Using a transfer pencil or pen to trace your design directly onto the fabric
- Using transfer paper to transfer the design onto the fabric using a hot iron
- Using a lightbox or tracing paper to trace the design onto the fabric
Choose the method that works best for you, and be sure to transfer the design accurately and clearly onto the fabric.
Starting Your Embroidery Project: Tips and Tricks
With the design transferred onto the fabric, it’s time to start embroidering!
When you begin stitching, it’s important to start in the center of the design and work outward to ensure that the embroidery is balanced and symmetrical. Use a single strand of embroidery floss for delicate stitches, or double up on the thread for more dramatic effects. Be sure to keep your stitches even and consistent, and use a hoop to hold the fabric taut and prevent puckering or distortion.
Types of Stitches to Use for Embroidering a Pillow Case
There are many different types of stitches that can be used for pillow case embroidery, each with its own unique texture, pattern, and effect. Some popular stitches include:
- Straight stitch: This is a simple and versatile stitch that is suitable for creating outlines, borders, and details.
- Satin stitch: This stitch is used to fill in large areas with a smooth, shiny layer of embroidery thread.
- French knot: This stitch creates a small, round knot of thread that can be used to add texture and dimension to your embroidery.
- Chain stitch: This stitch creates a looped chain of thread that can be used for borders, outlines, or decorative effects.
Experiment with different types of stitches and combinations to create unique and eye-catching designs.
Adding Texture with Different Types of Threads
One way to add depth and texture to your embroidery is to use different types of threads, such as metallics, variegated, or textured threads. These can create a range of effects, from subtle variations in color to bold and shiny accents.
When working with different types of threads, be sure to adjust the tension of your stitches accordingly, as some threads may be more delicate or prone to tangling.
Finishing Touches: Cleaning and Pressing Your Embroidered Pillow Case
Once you have completed your embroidery, it’s important to clean and press the pillow case to ensure that it looks its best.
To clean the pillow case, hand wash it in cold water with a gentle detergent, and avoid wringing or twisting it. Gently press out any excess water with a towel and allow the pillow case to air dry.
Once the pillow case is dry, use a warm iron on the reverse side to gently press out any wrinkles or creases. Avoid ironing directly on the embroidery thread, as this may cause it to melt or warp.
Displaying Your Finished Work: Creative Ideas
Now that your embroidered pillow case is complete, it’s time to show it off! There are many creative ways to display and enjoy your finished work, such as:
- Using it as a decorative cushion on your bed or sofa
- Framing it and hanging it on the wall
- Using it as a cover for a special item, such as a journal or photo album
- Gifting it to a friend or loved one as a thoughtful and personal present
Get creative and find a way to showcase your embroidery that reflects your personal style and tastes.
Congratulations, you now know how to embroider a pillow case! With the right materials and techniques, you can create beautiful and unique designs that will add style and warmth to your home decor, and make thoughtful gifts for friends and family.


